CHECK OUT OUR FREE BEGINNER COURSE


Kurssi info
Kurssi info
In the course you learn:
Learning the proper way to use steps on a backhand drive
Understanding all the parts of a full set of steps
Last step, cross step and lead step
Avoiding rookie mistakes
Precise rotation of the body
When to throw your disc with steps and why
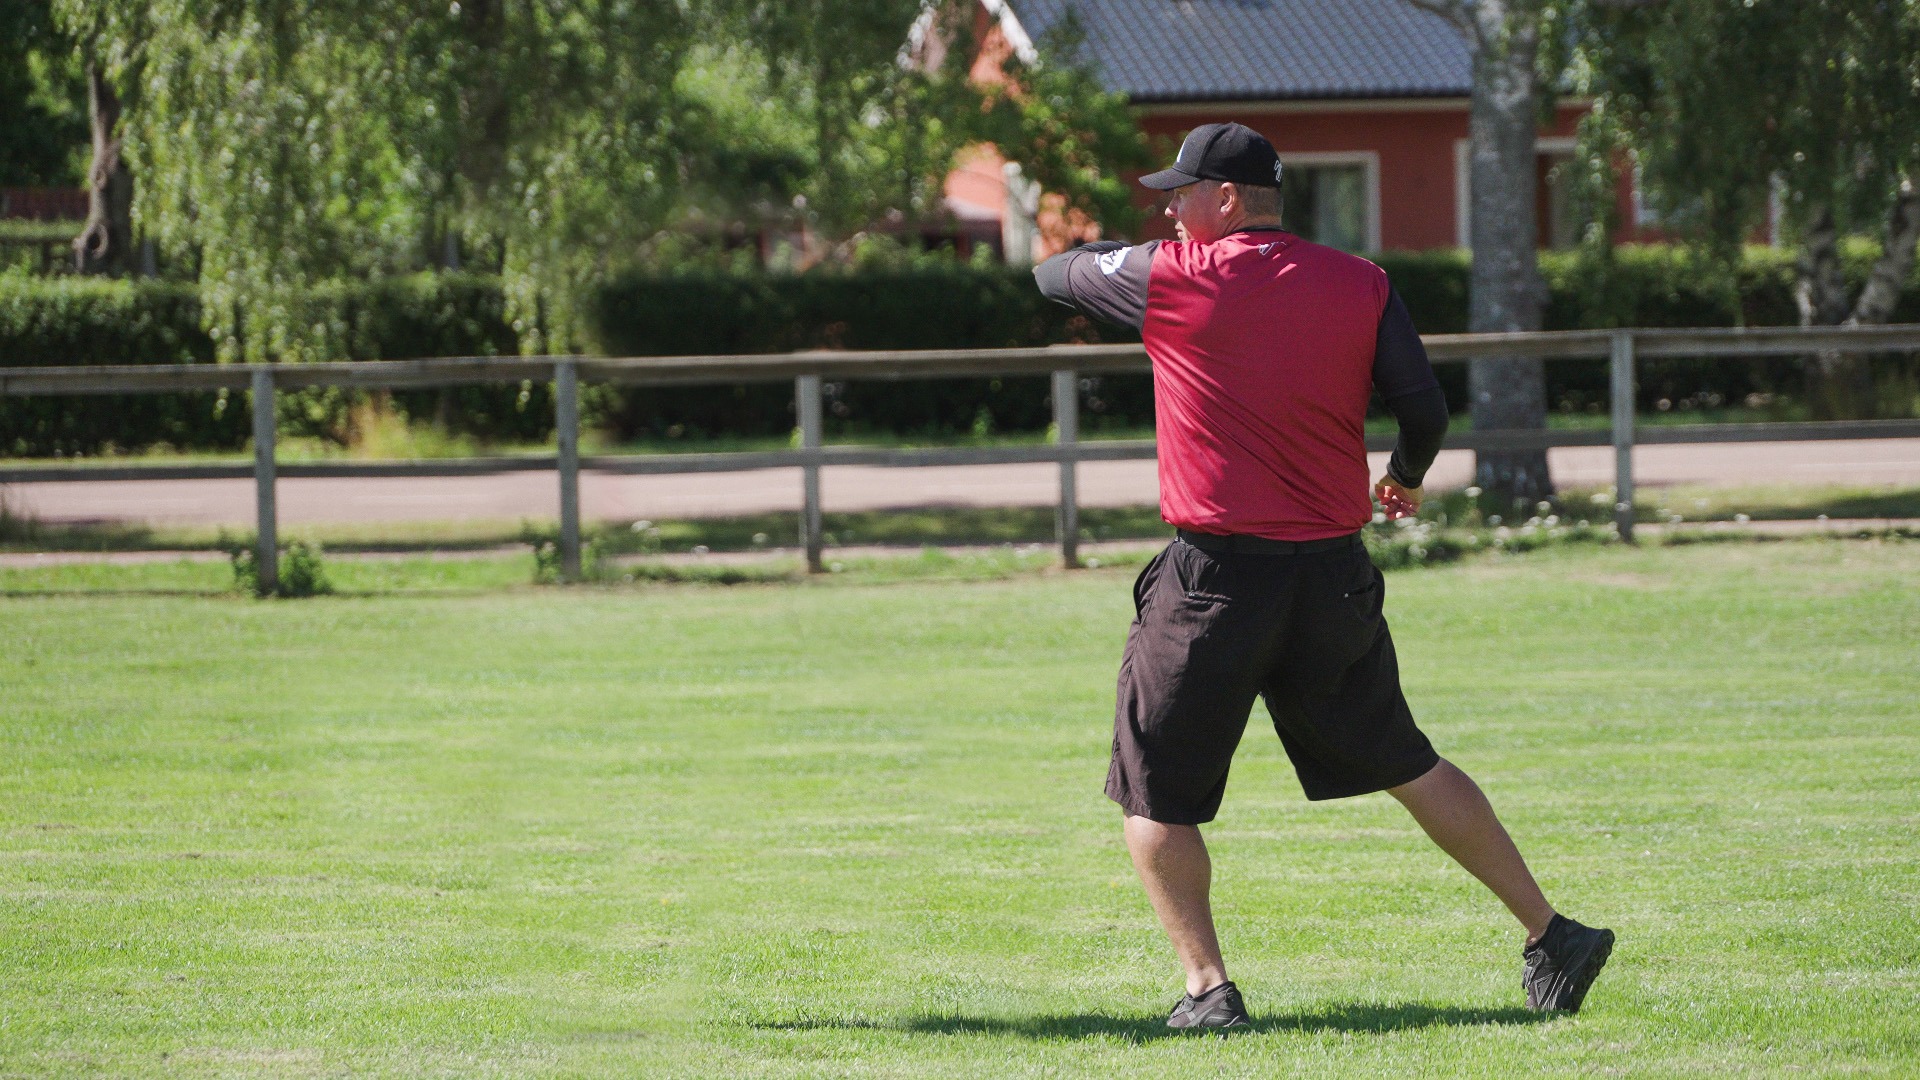
In this course, you will learn the basics of Backhand Steps. Some call this a run-up, but if you look closely at pro players, they don't actually run, but take deliberate steps of sorts. In the lessons, we will walk you through all the three most important aspects of throwing with steps.
You will quickly see that throwing with steps is not hard when doing the right things right away. Some say that taking steps is actually like a choreographed dance if you use a bit of imagination. Let's throw some shots!
This course is upcoming. Next Update will Be IN
Be sure to come back. In the Meantime, see our other courses!
Lessons
Introduction to the backhand steps
1
Introduction to the backhand steps
1

Publish date
Introduction to the backhand steps
1.
Introduction
1
Introduction
1

00:42
Publish date
Here we go through the contents of this course.
Introduction
1.
Lesson - Terms
1
Lesson - Terms
1

00:36
Publish date
Let's talk about some terms for clarity's sake.
Lesson - Terms
2.
Lesson - Versatility
1
Lesson - Versatility
1

00:44
Publish date
These steps are very useful in different situations on the course. We can use each part of these steps in places that don't allow us to do a full set of steps when throwing a backhand shot.
Lesson - Versatility
3.
Lesson - Disclaimer
1
Lesson - Disclaimer
1

00:52
Publish date
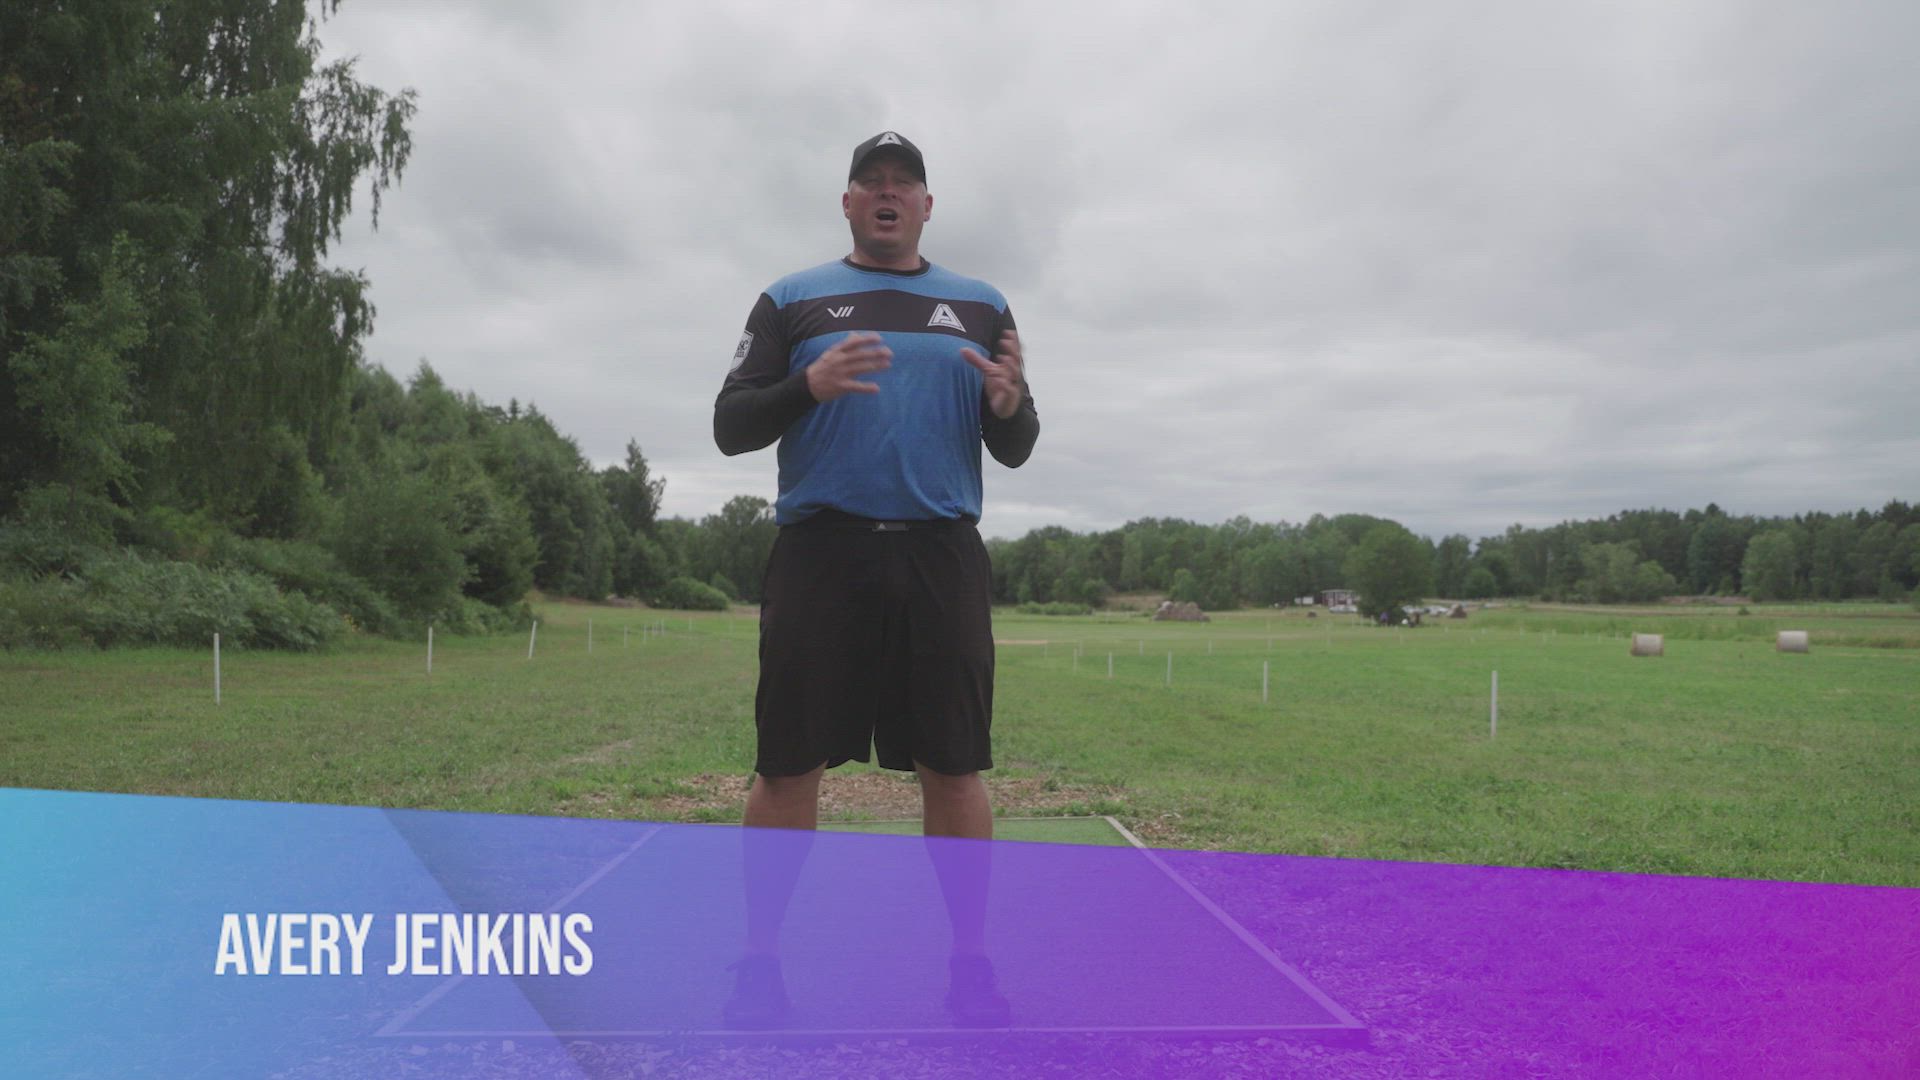
There is a reason we don't call it a run-up. Avery Jenkins talks more about this here.
Lesson - Disclaimer
4.
Parts of the backhand steps
2
Parts of the backhand steps
2

Publish date
Parts of the backhand steps
1.
Lesson - Last step
1
Lesson - Last step
1

01:54
Publish date
We start to go through the steps backwards from the last step. This is a good way to connect the dots from the backhand standstill position since we are stepping into that position when we throw. Just keep it simple!
Lesson - Last step
1.
Exercise - Last step
1
Exercise - Last step
1

01:18
Publish date
Here we talk about a way to drill this last step and make it a part of your game.
Exercise - Last step
2.
Lesson - Cross step
1
Lesson - Cross step
1

01:34
Publish date
Next we look at the cross step or "x-step" which is in the middle of our full set of steps.
Lesson - Cross step
3.
Exercise - Cross step
1
Exercise - Cross step
1

01:24
Publish date
Here we have an exercise for you to drill the movement of the cross step and use it on the course.
Exercise - Cross step
4.
Lesson - Lead step
1
Lesson - Lead step
1

01:44
Publish date
Let's go to the first step of this sequence. There can be a preparatory stepping before the lead step, but the proper set of steps are these three steps. First the lead step, then cross step and the last step to plant the throw to the ground. Lead step is like walking and it helps us to aim towards the intended target.
Lesson - Lead step
5.
Fine tuning
3
Fine tuning
3

Publish date
Fine tuning
1.
Lesson - Setup
1
Lesson - Setup
1

01:25
Publish date
Here we talk about how to set us up at the beginning of the throw. It is important to find the right setup to have an easy aim to your intended line of throw.
Lesson - Setup
1.
Lesson - Positioning
1
Lesson - Positioning
1

01:18
Publish date
Here we talk about how to position our body when we start taking the steps. A very important detail and also good always to keep in mind that we are not just stepping blindly forward but we have a good feel of the line we are stepping to.
Lesson - Positioning
2.
Lesson - Gate
1
Lesson - Gate
1

01:49
Publish date
Now we talk about the gate of the steps. We learn how to find the right size steps when working with the footwork.
Lesson - Gate
3.
Lesson - Timing
1
Lesson - Timing
1

02:01
Publish date
It's important to find the right timing of the steps and the pull with the upper body. Here we learn the points we need to keep in mind when practicing the bests timing for the throw.
Lesson - Timing
4.
Lesson - Heel rotation
1
Lesson - Heel rotation
1

03:22
Publish date
Let's talk more about the rotation of the hip and the front leg. It is good to note, that the leg is rotating because the hip is rotating, so the turning of the hip is the driving force that makes our leg rotate on our heel.
Lesson - Heel rotation
5.
Exercise - Heel rotation
1
Exercise - Heel rotation
1

01:31
Publish date
A good exercise to find again the natural way to rotate you front leg at the end of the throw.
Exercise - Heel rotation
6.
Lesson - Follow through
1
Lesson - Follow through
1

02:38
Publish date
Talking again a bit more on the follow through of the backhand throw. Follow through not only gives us more power on the throw but it also protects us from injury when we release the generated power smoothly.
Lesson - Follow through
7.
Lesson - Off arm
1
Lesson - Off arm
1

00:55
Publish date
You can eventually use the off arm to produce more power, but let's learn first how to make sure the off arm is not causing you trouble.
Lesson - Off arm
8.
Tips and summary
4
Tips and summary
4

Publish date
Tips and summary
1.
Tip 1 - Match your line with your body
1
Tip 1 - Match your line with your body
1

01:33
Publish date
Tip on thinking and executing the throw on a linear line.
Tip 1 - Match your line with your body
1.
Tip 2 - One pace
1
Tip 2 - One pace
1

00:51
Publish date
This tip points to the pacing of the steps and the motion of the throw.
Tip 2 - One pace
2.
Tip 3 - Practice!
1
Tip 3 - Practice!
1

00:43
Publish date
It is up to you now to make all this happen. You don't learn things over night. Work diligently, work hard and you will find your way through these steps. You can work at home, on the bus stop, on the course, but the repetition is the key. Keep practicing!
Tip 3 - Practice!
3.
Exercise - Target practice
1
Exercise - Target practice
1

01:06
Publish date
Pick a target and take a bunch of putters. Try to hit the target as many times as possible and incorporate everything we have learned so far with the proper steps.
Exercise - Target practice
4.
Lesson - Summary
1
Lesson - Summary
1

01:26
Publish date
Let's go through the key points once more so you have the right things in mind when learning the backhand steps.
Lesson - Summary
5.
You might also like
Add a Title

