
CHECK OUT OUR FREE BEGINNER COURSE

Kurssi info
Kurssi info
In the course you learn:
Learn the basic shots of Fountain Hills DGC
See how Drew Gibson attacks the course
Enjoy the beautiful surroundings and challenging holes
Get better at your gameplay when you play similar holes on your rounds.
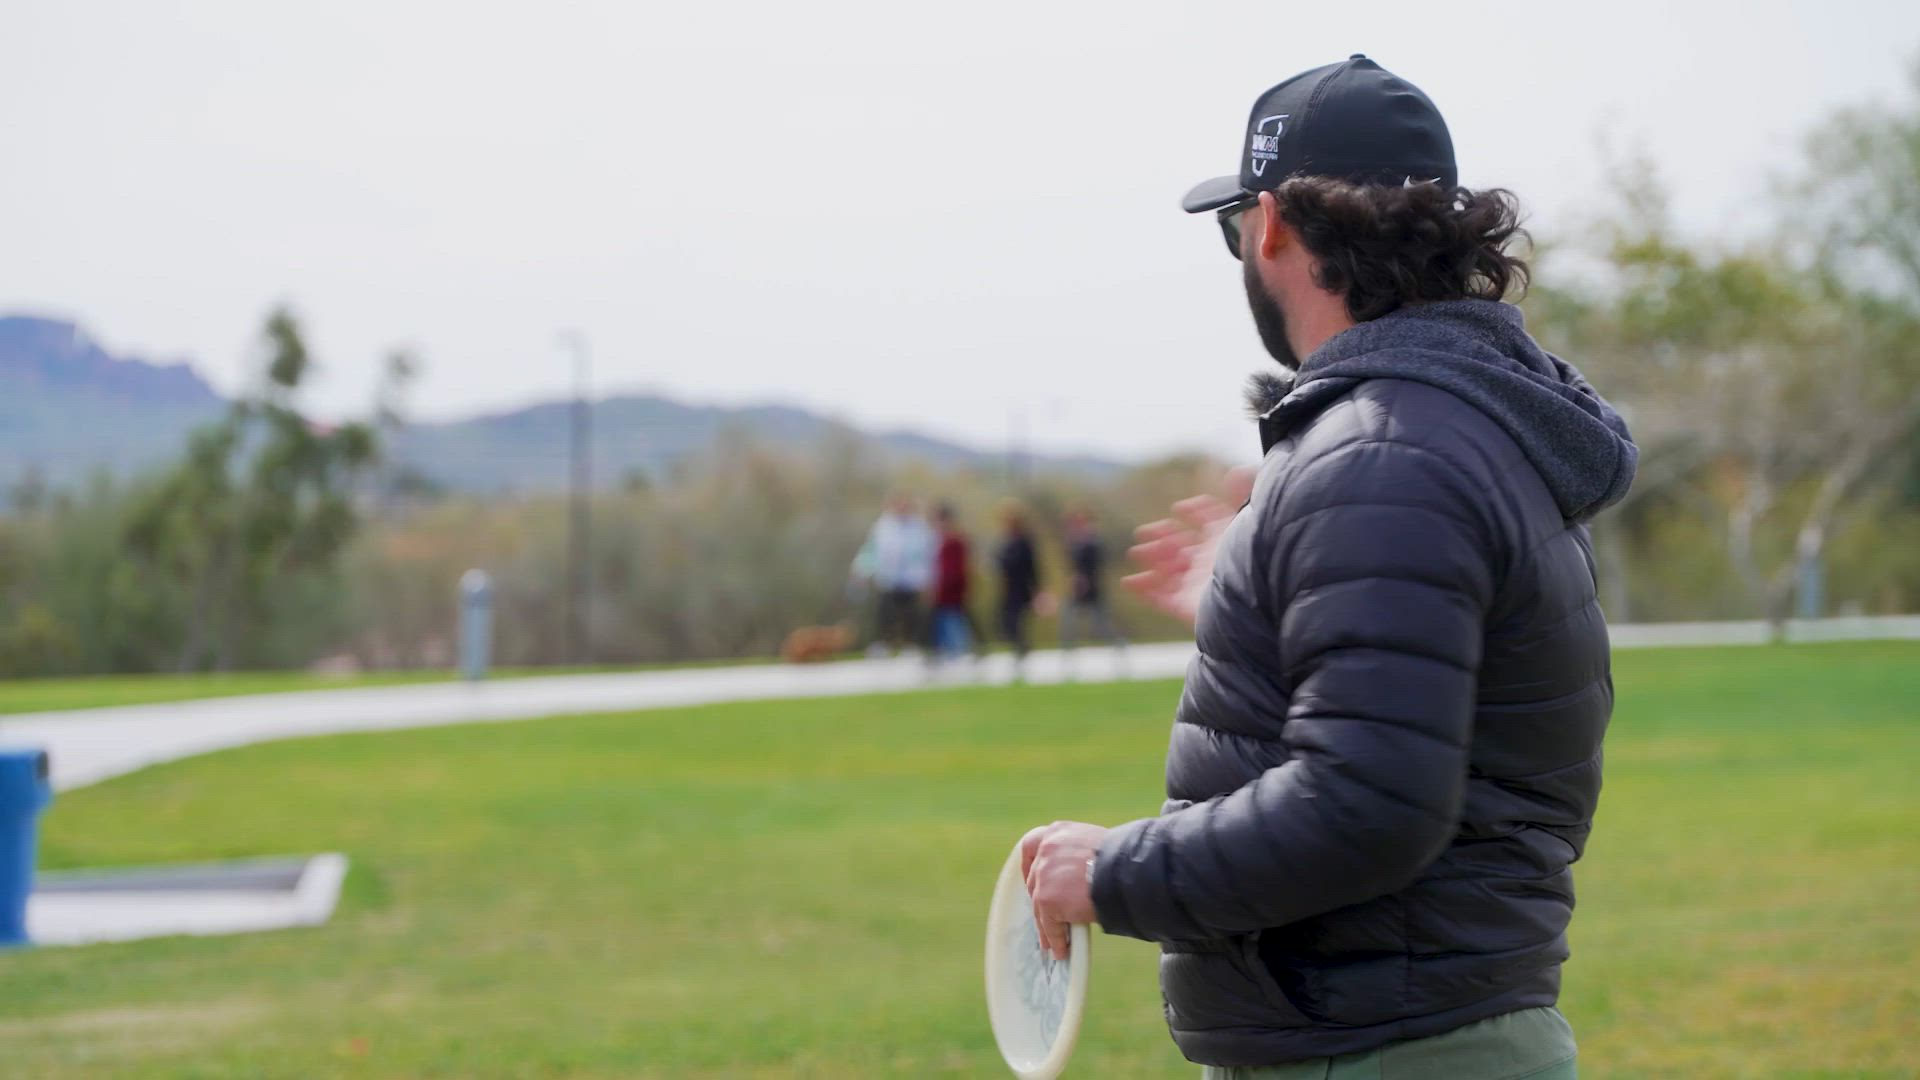
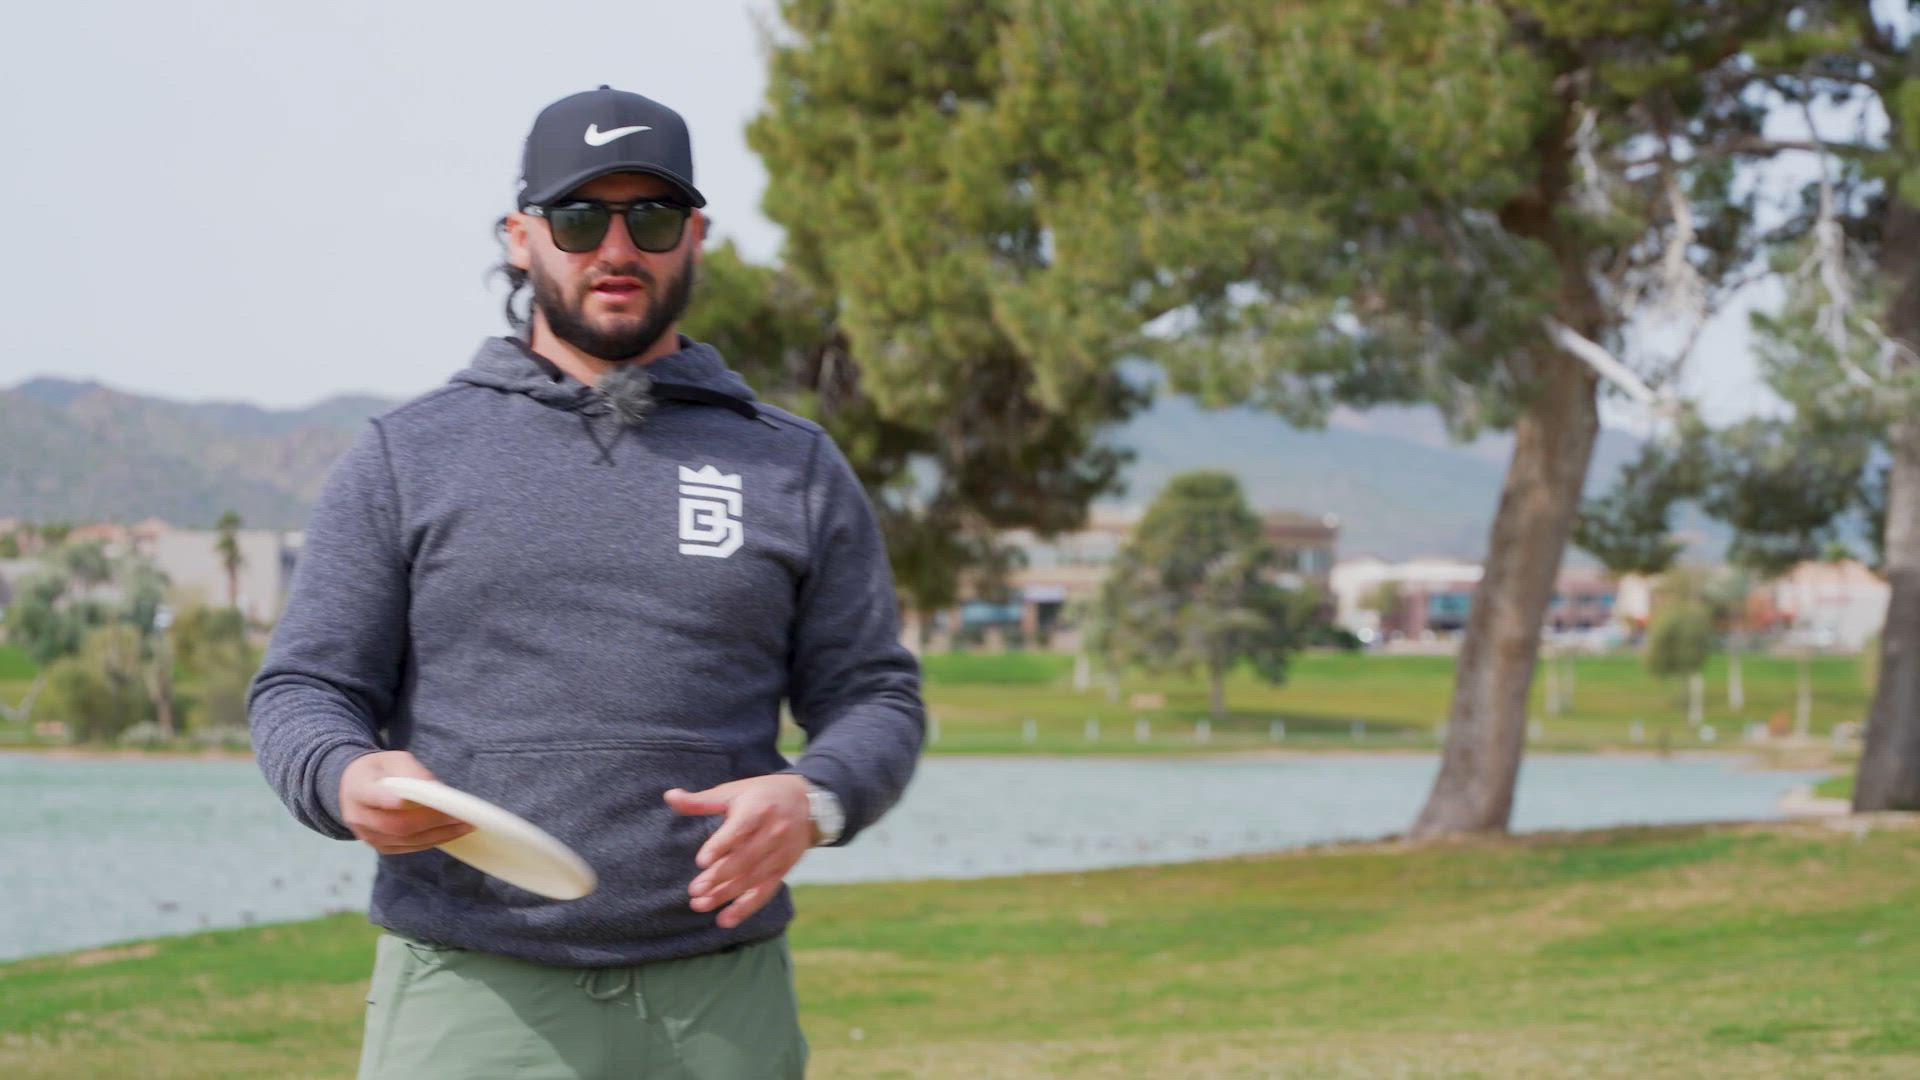
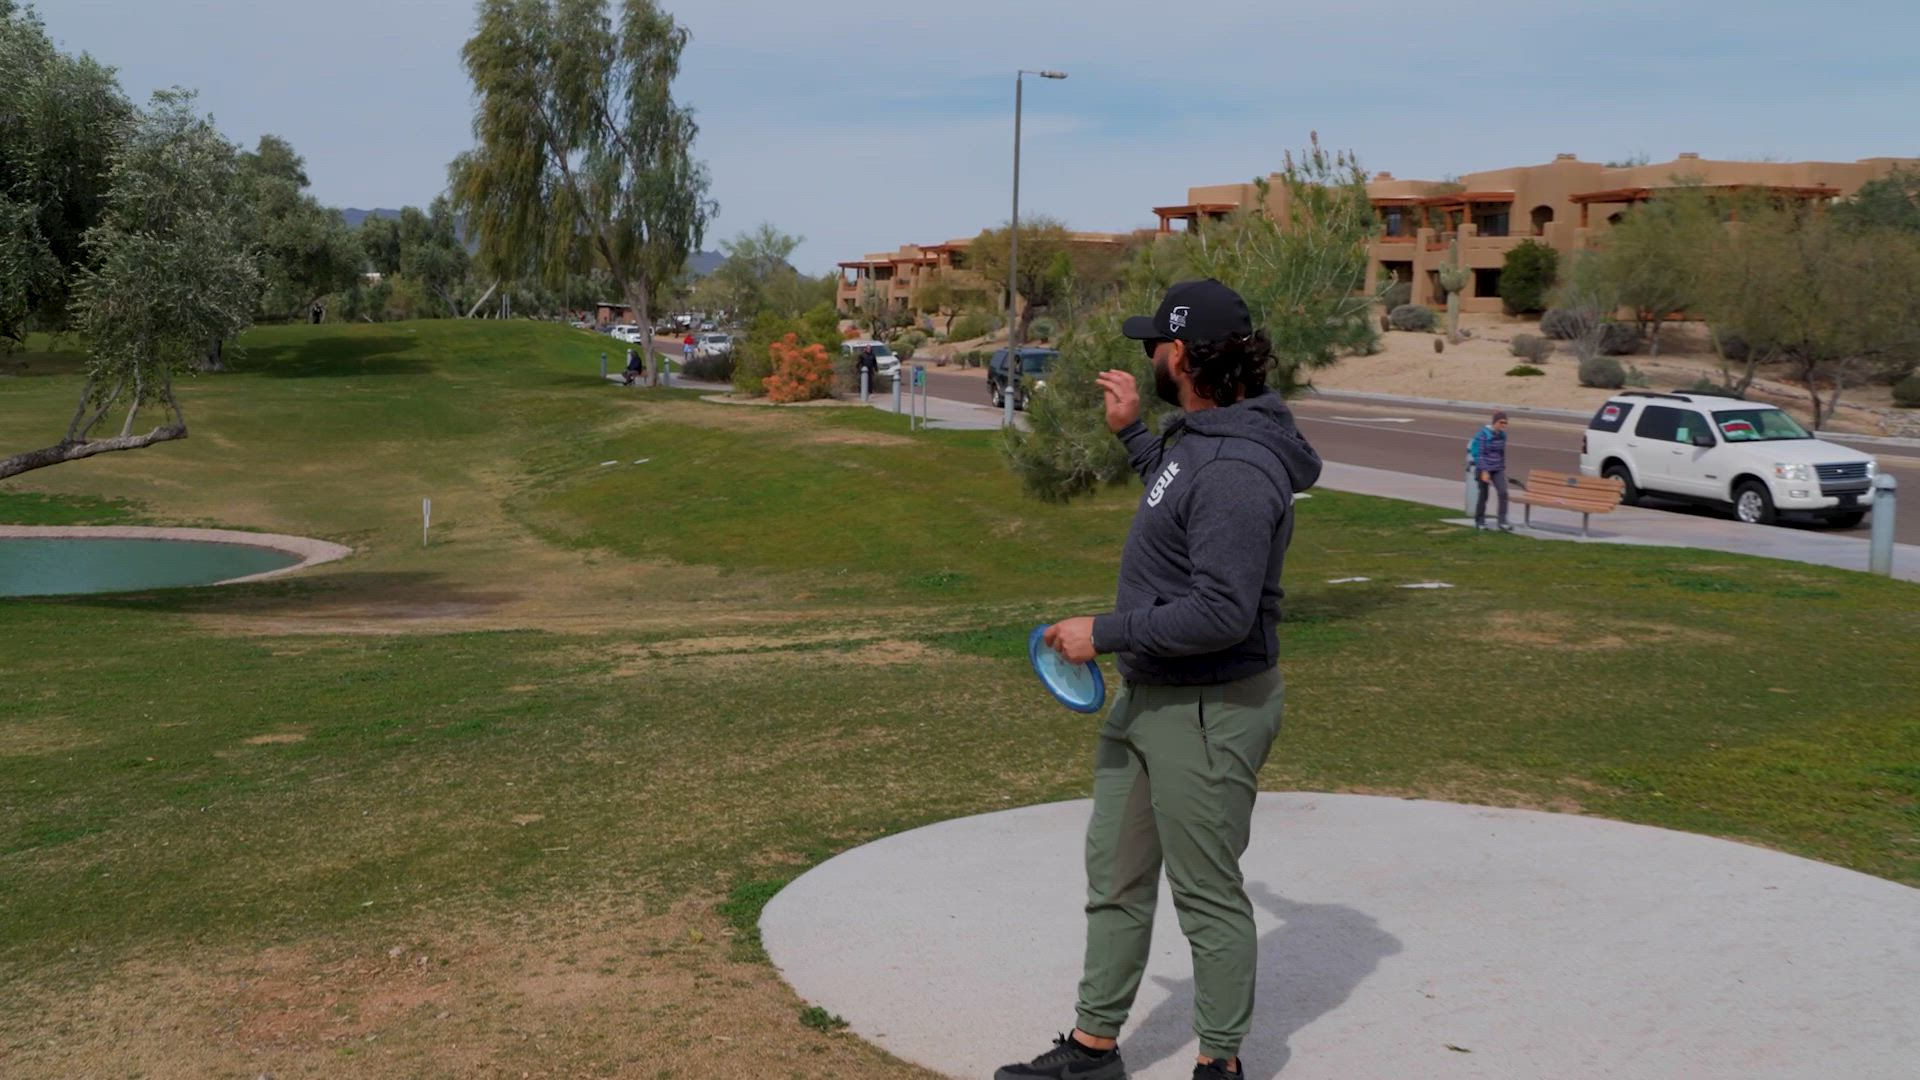
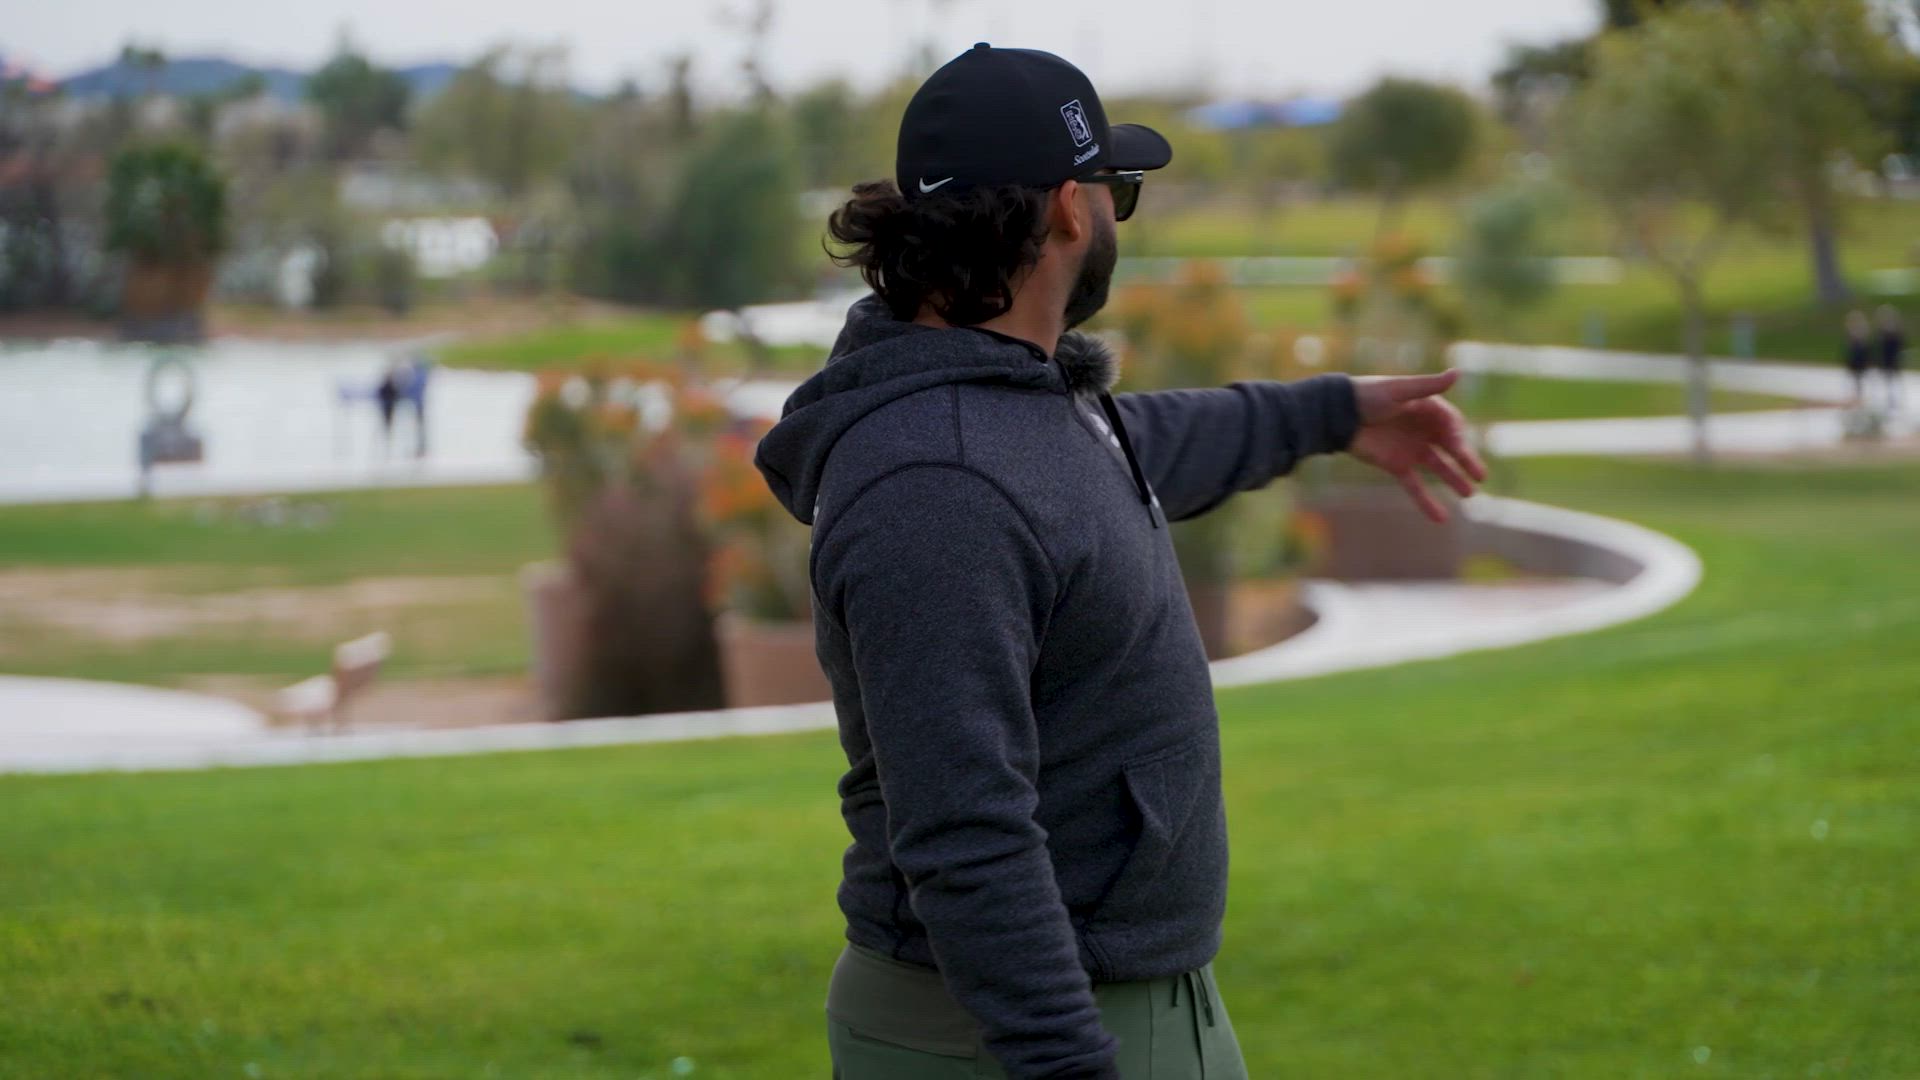
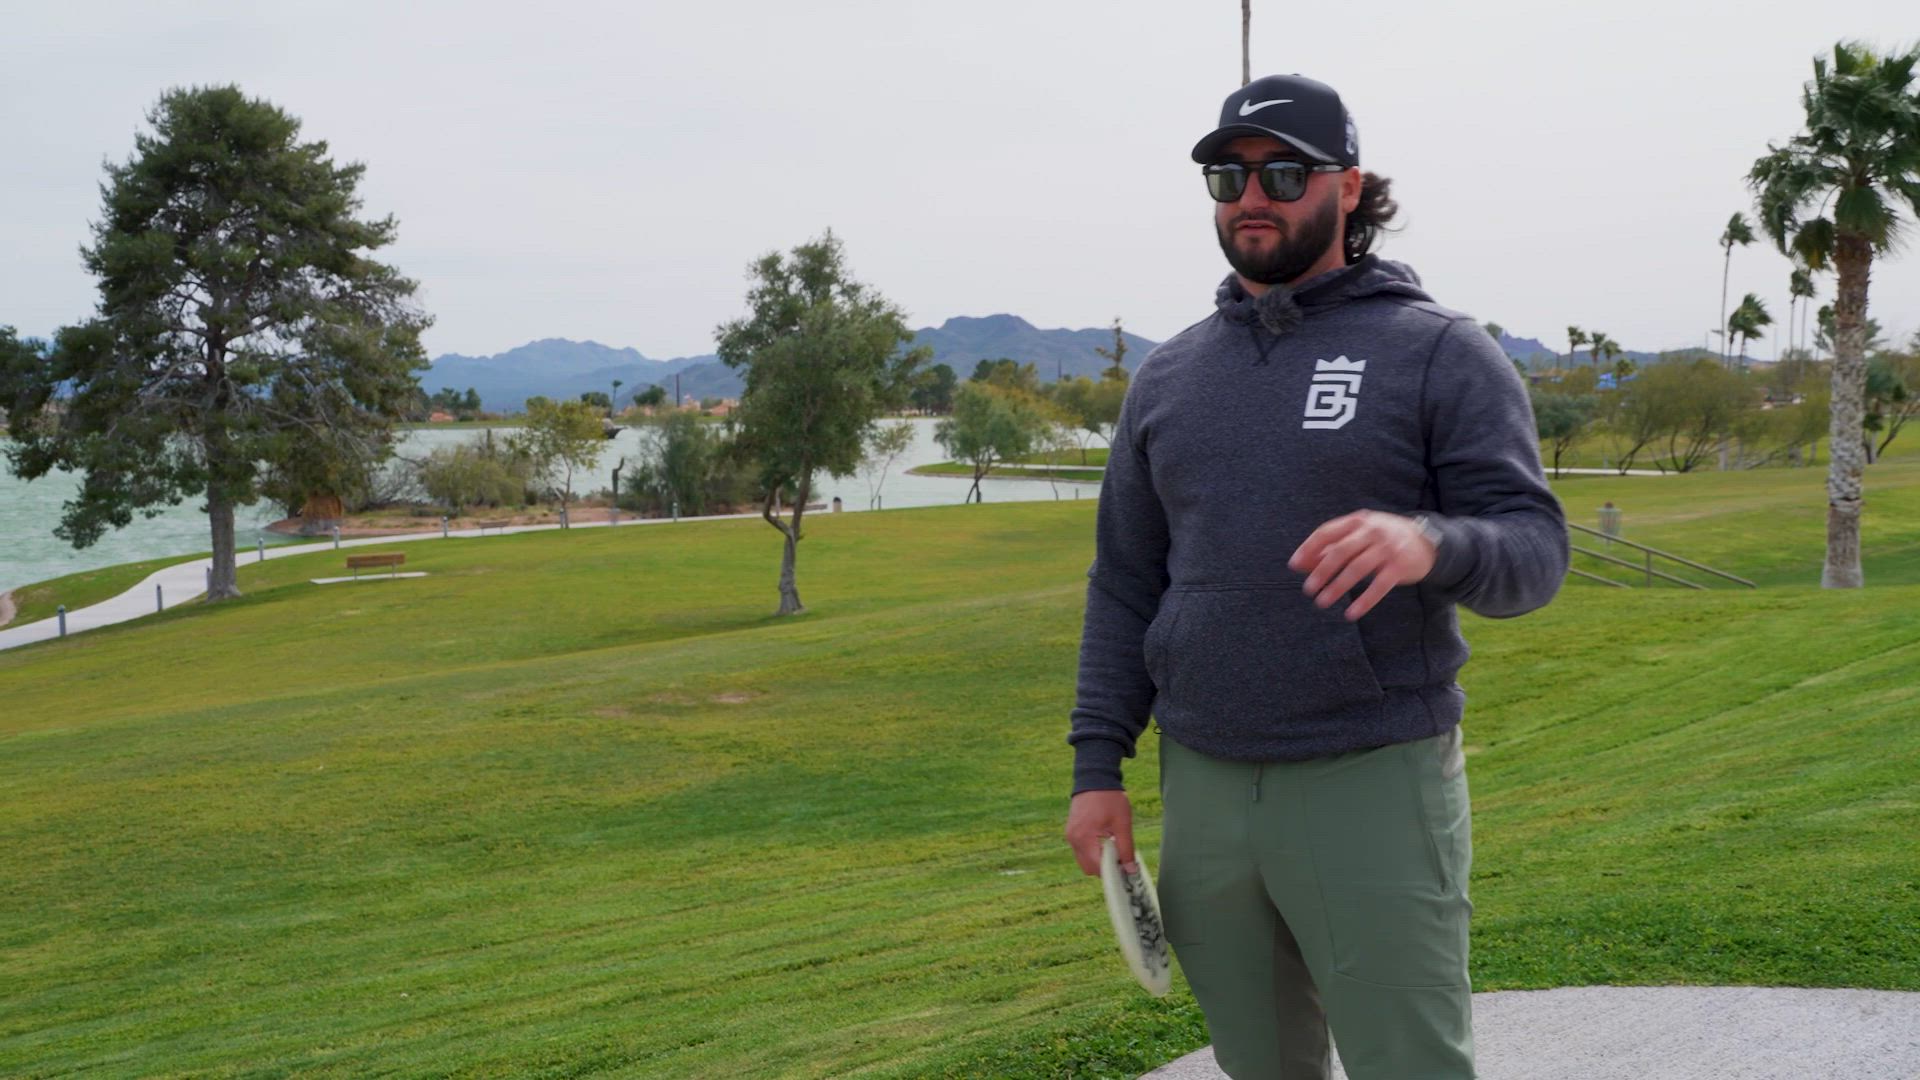
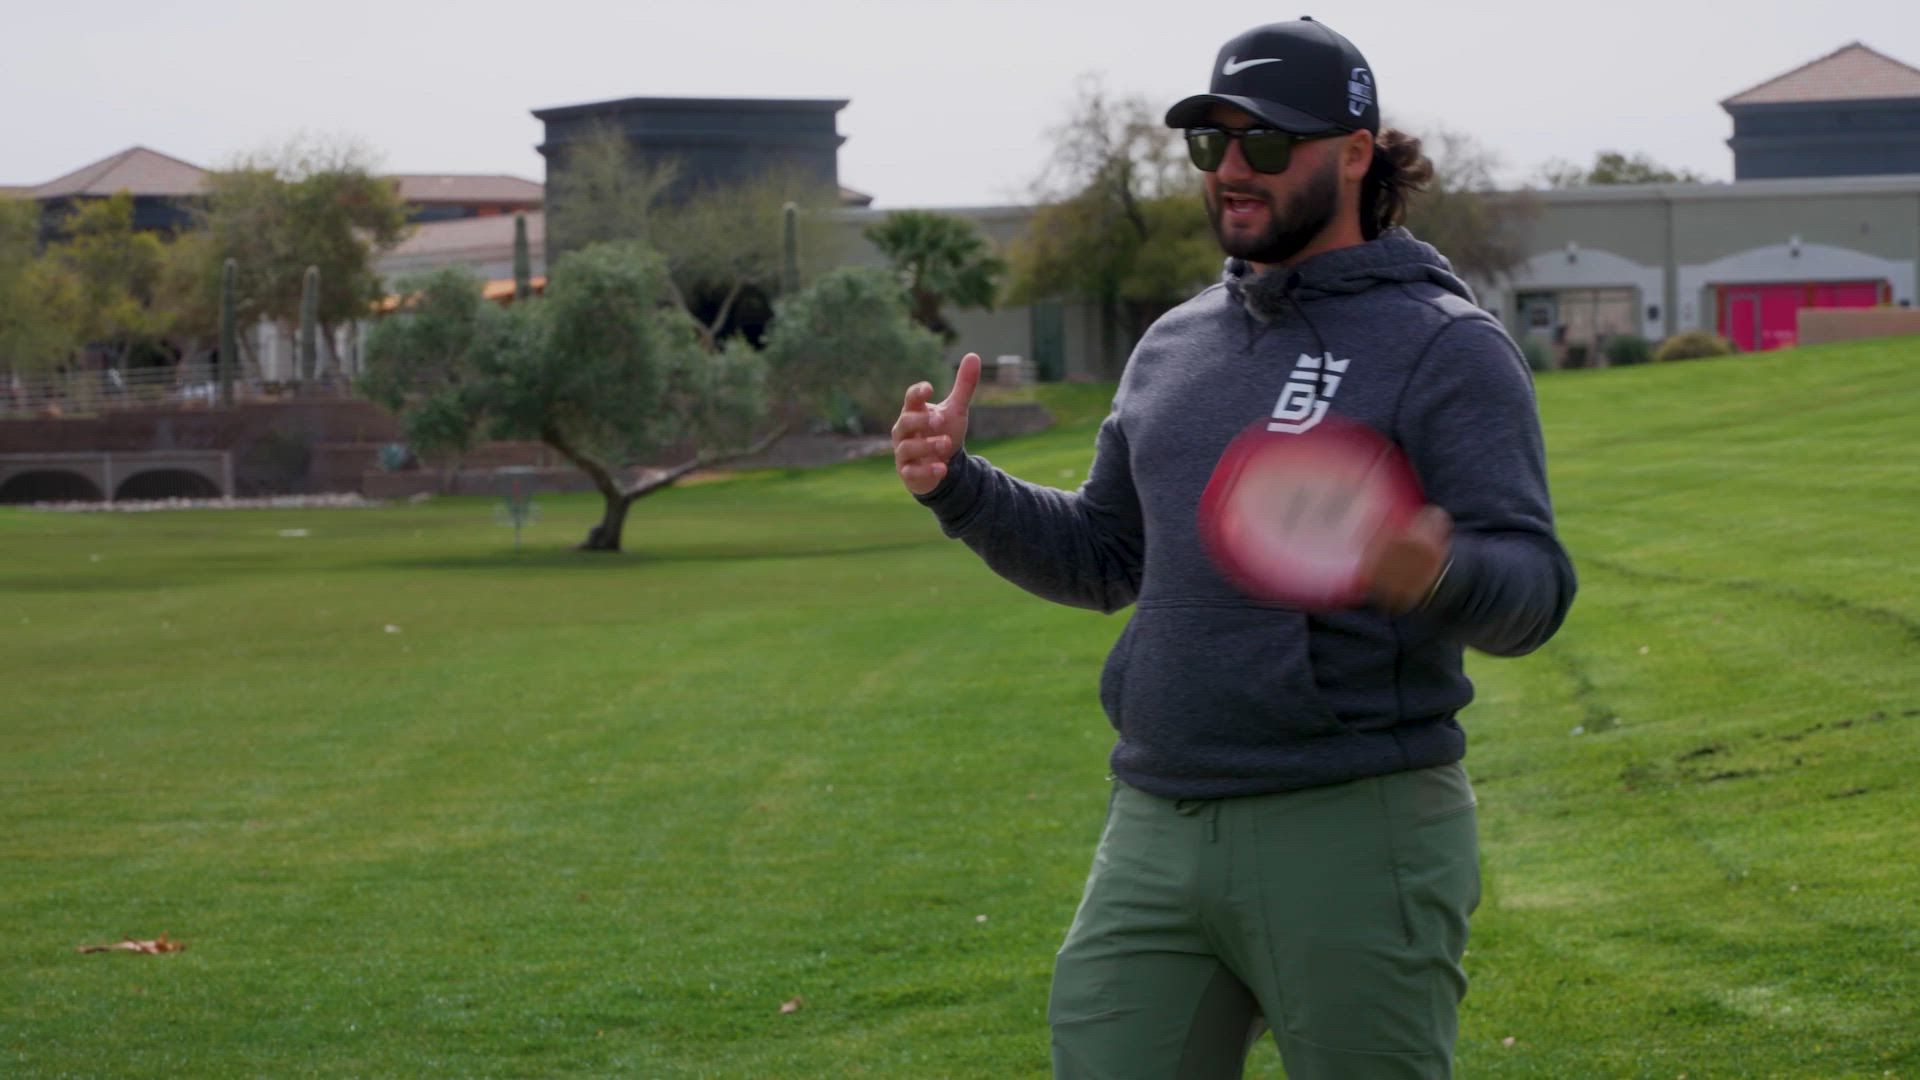
Here we get to play through the course of Fountain Hills at Maricopa, Arizona with the local boy Drew Gibson. In this tactical training session, we see how Gibson practices for the Memorial Open and what kind of decisions he has to make to keep the score low. The conditions were far from perfect and the wind direction was from opposite direction than normal. This was a good challenge for everyone and you can see some amazing adaptability from the touring pro Gibson.
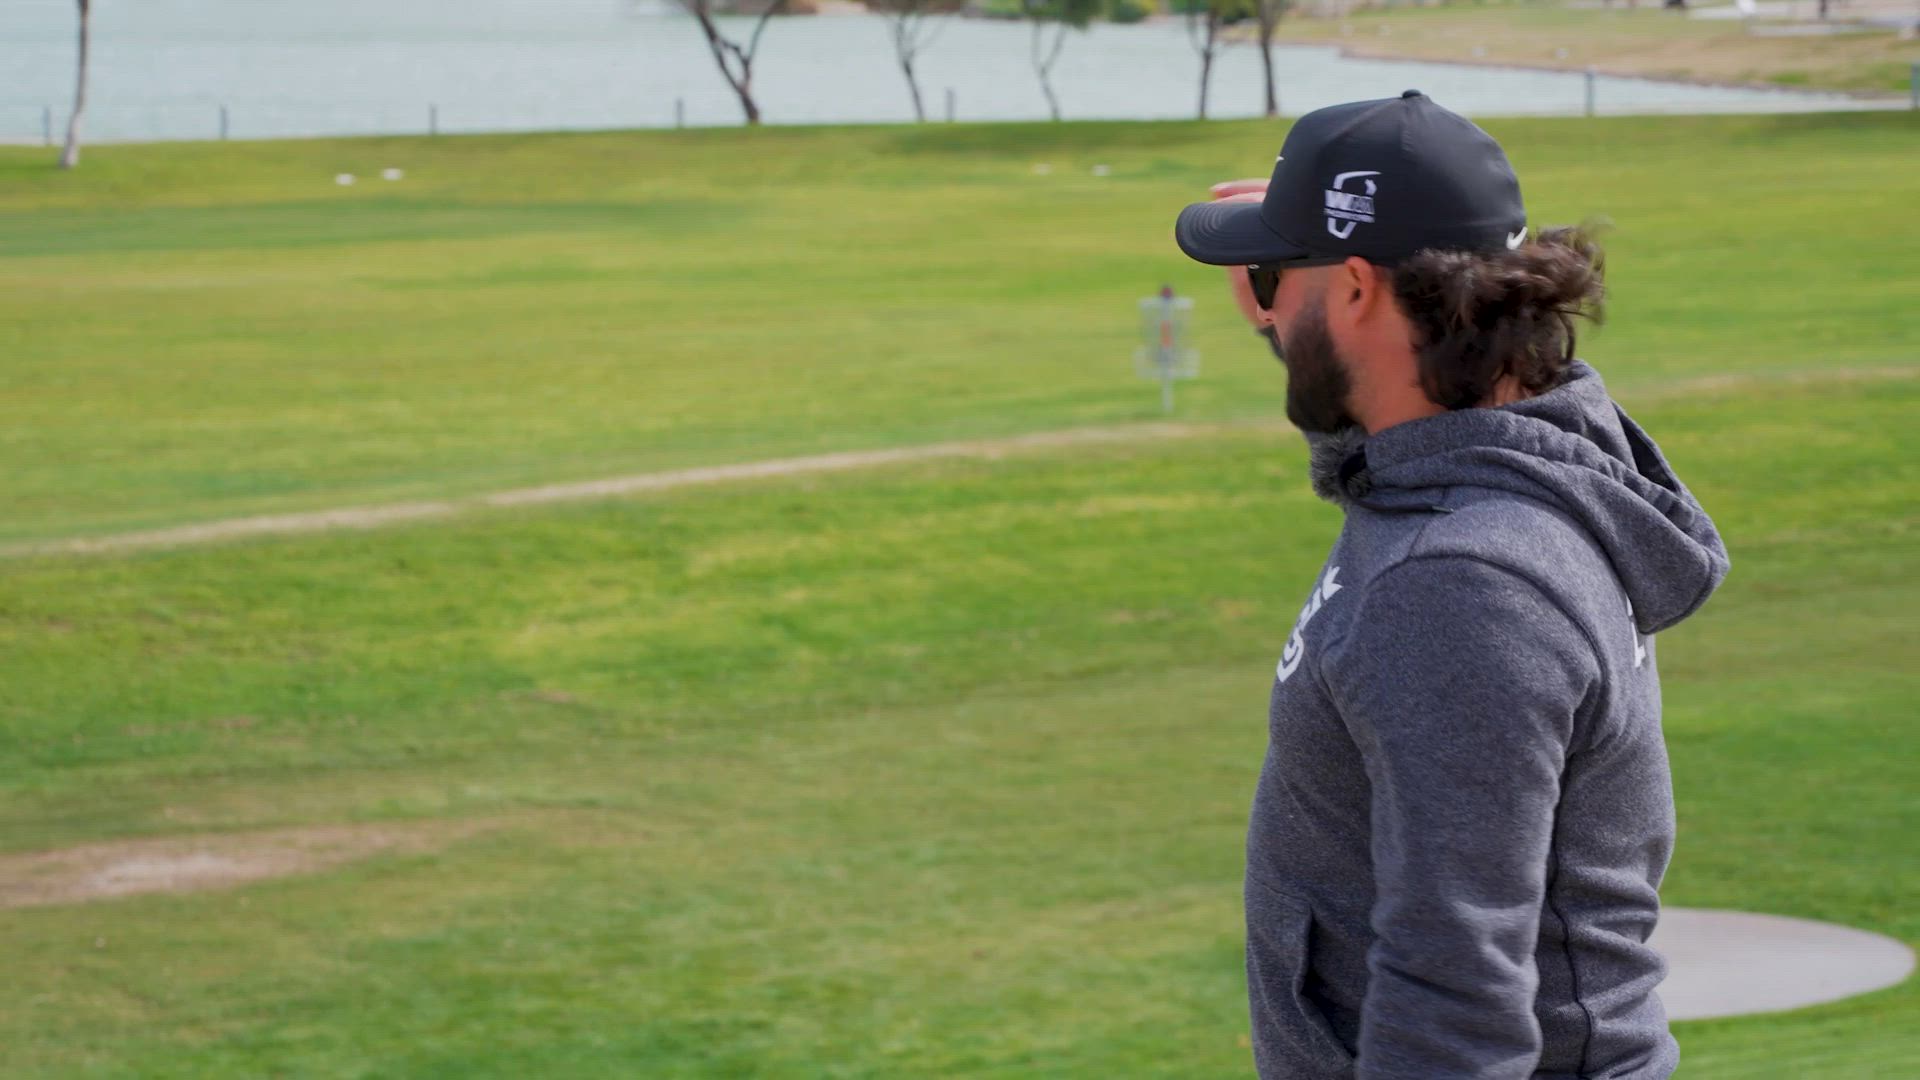
We also wanted to show you the difficulty of playing in these conditions so you can take notes and implement them into your game. It was nearly impossible to succeed on some of the holes but that's why Gibson threw extra shots to learn what works and what doesn't.
The layout is as close to the Memorial Open layout as possible, minus the banners and signs, and other bells and whistles. That is why the hole numbering might seem odd and differ from the ones you see on the tee signs.
Pay also attention to what happens on hole #2 - The story we share with you is amazing!
This course is upcoming. Next Update will Be IN
Be sure to come back. In the Meantime, see our other courses!
Lessons
Tactical Training - Fountain Hills
1
Tactical Training - Fountain Hills
1

Publish date
Tactical Training - Fountain Hills
1.
Introduction to Fountain Hills
1
Introduction to Fountain Hills
1
01:44
Publish date
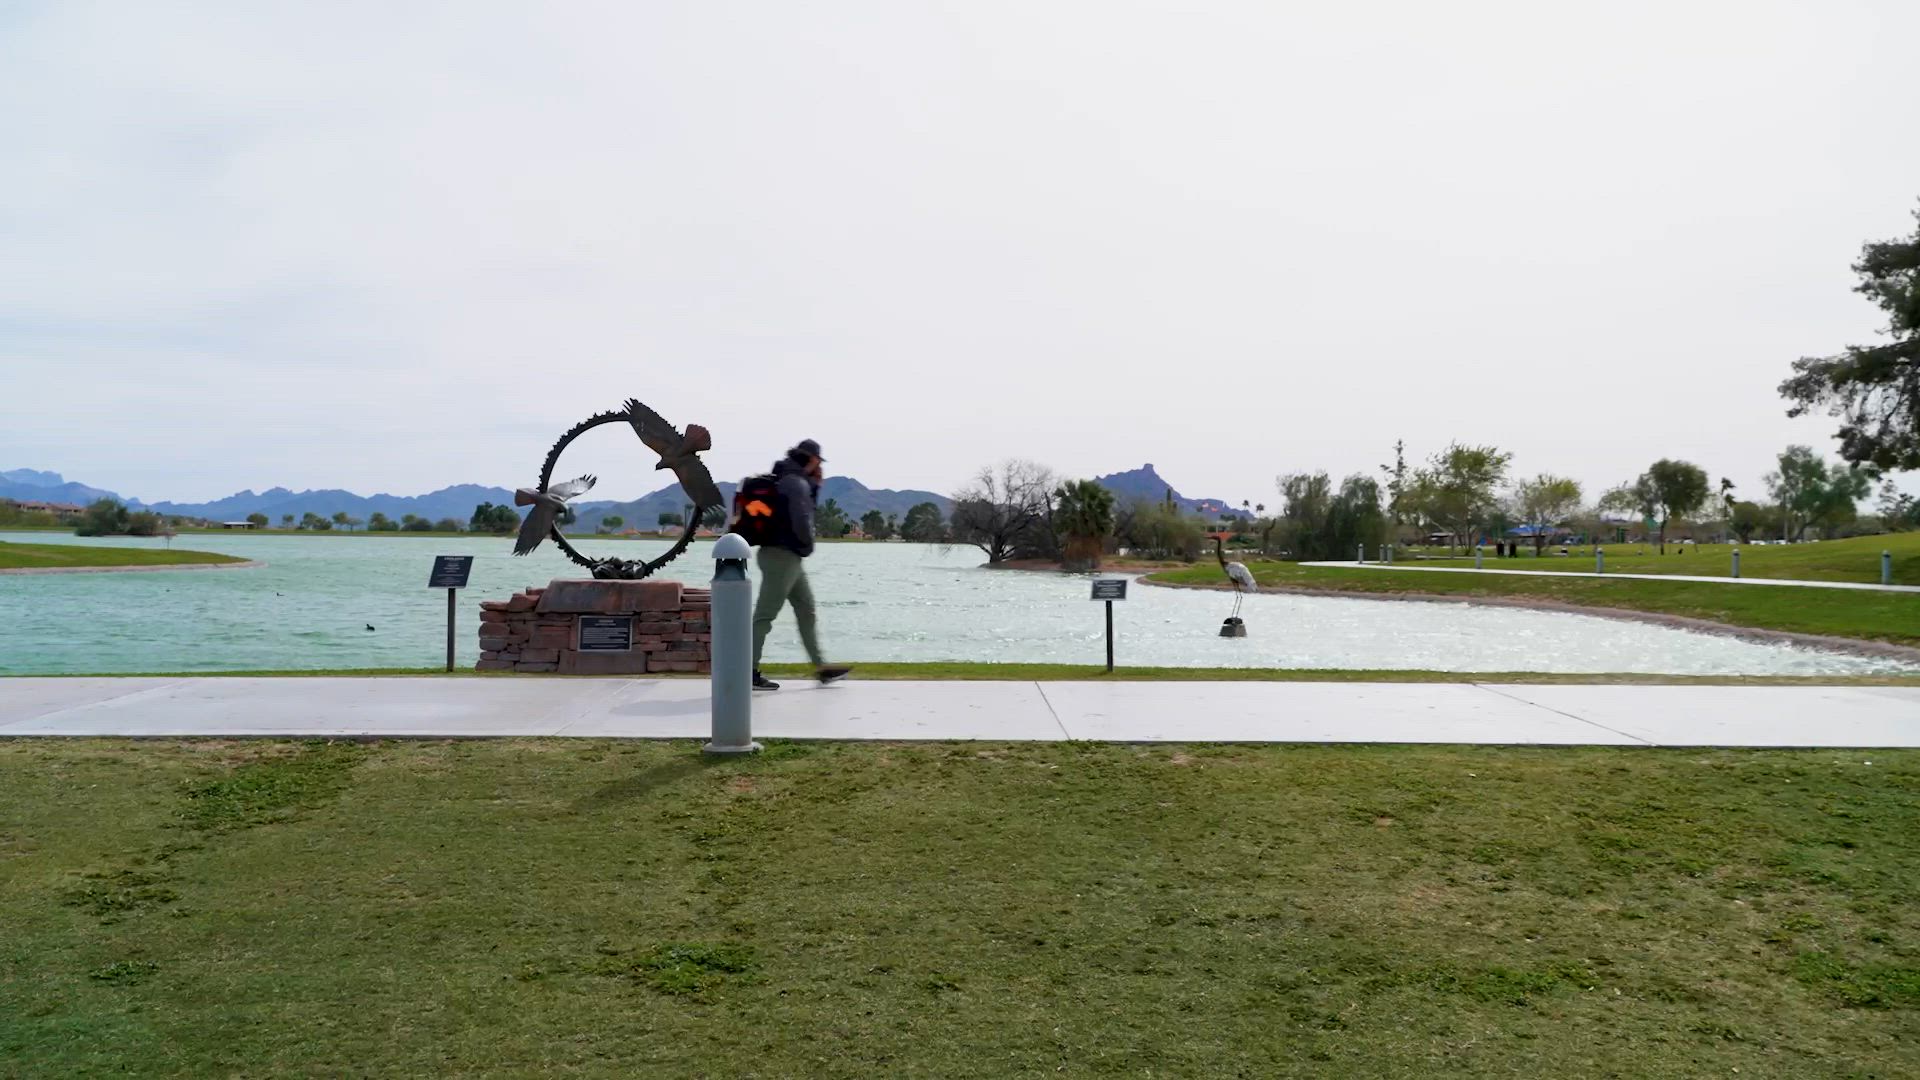
Welcome to Fountain Hills, Maricopa county, Arizona!
Introduction to Fountain Hills
1.
Hole #1 - Par 3 - 393ft 119m
1
Hole #1 - Par 3 - 393ft 119m
1
03:44
Publish date
Hole #1 is a hard starting hole with a huge water carry. Let's see how it plays out in this wind.
Hole #1 - Par 3 - 393ft 119m
2.
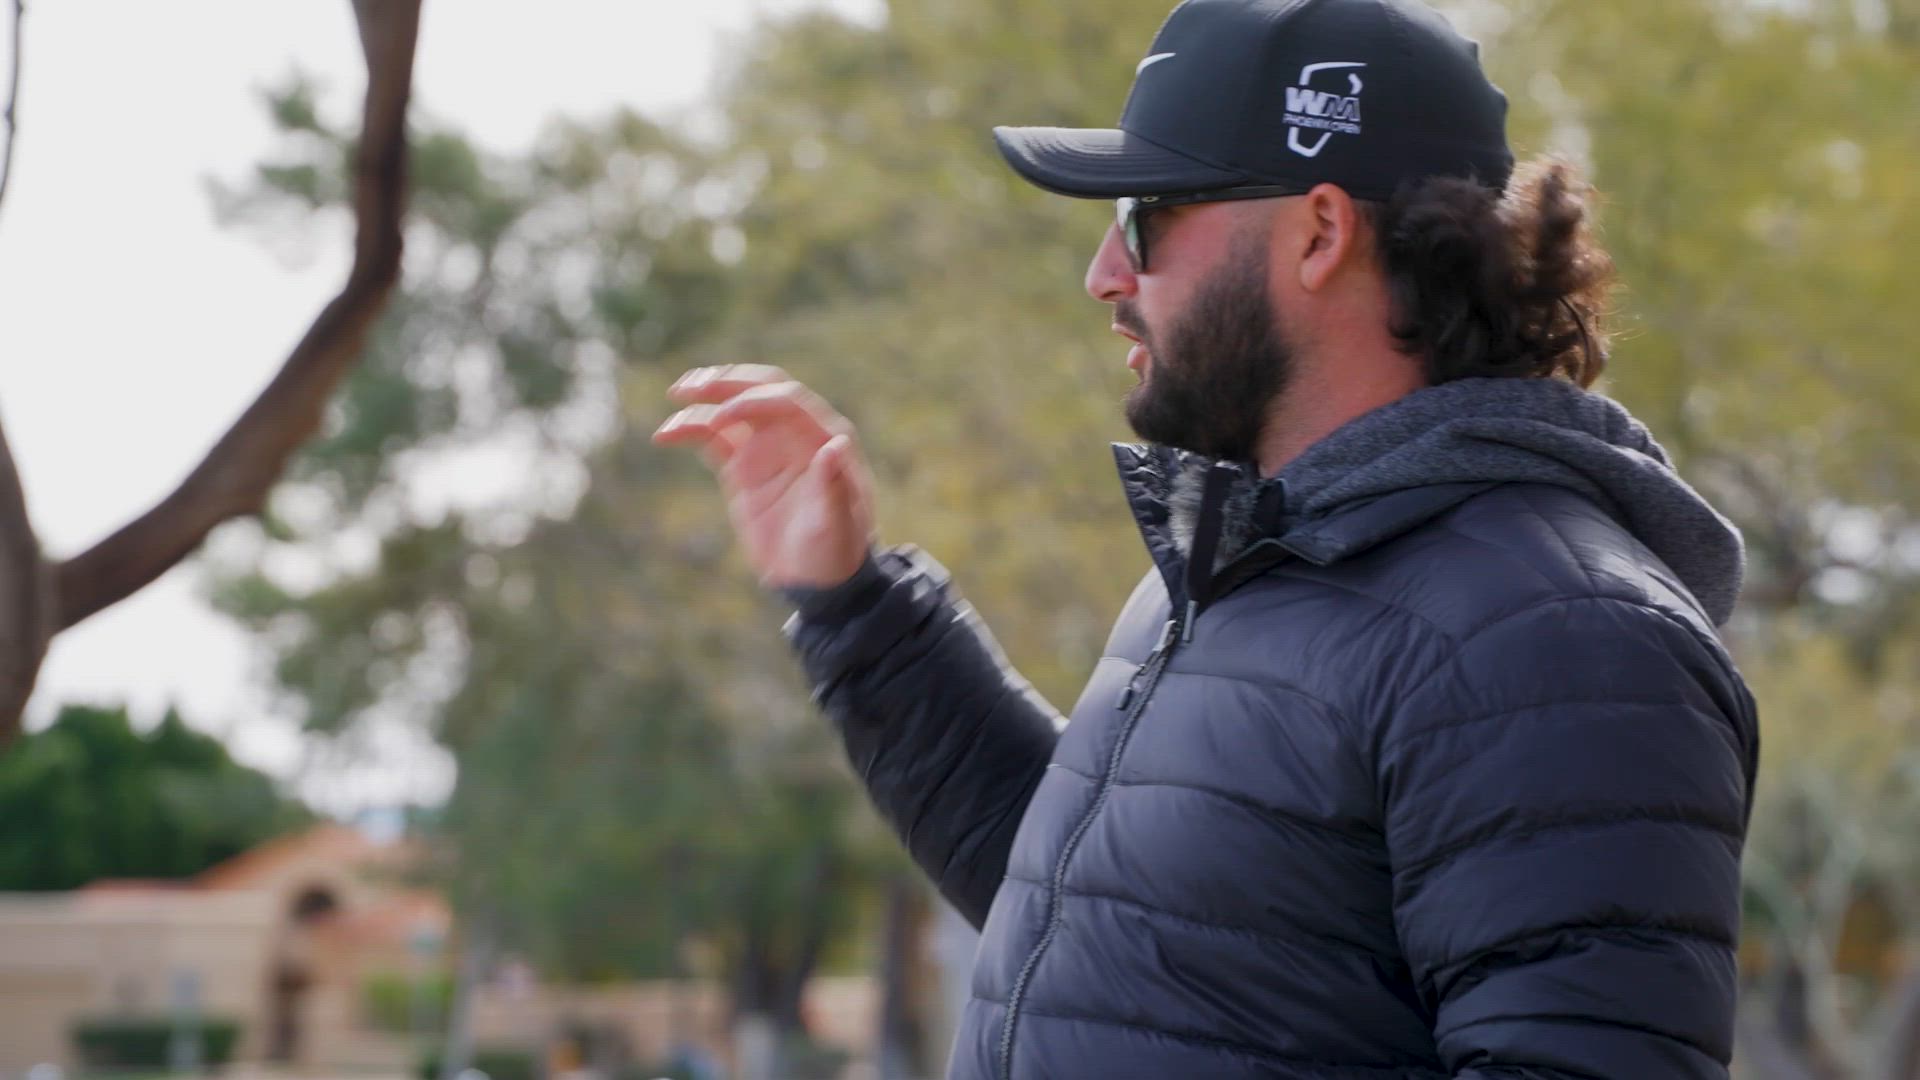
Discussion on disc golf with a local resident
1
Discussion on disc golf with a local resident
1

04:04
Publish date
Sometimes you need to satisfy the curiosity of a local and have a little community interaction.
Discussion on disc golf with a local resident
3.
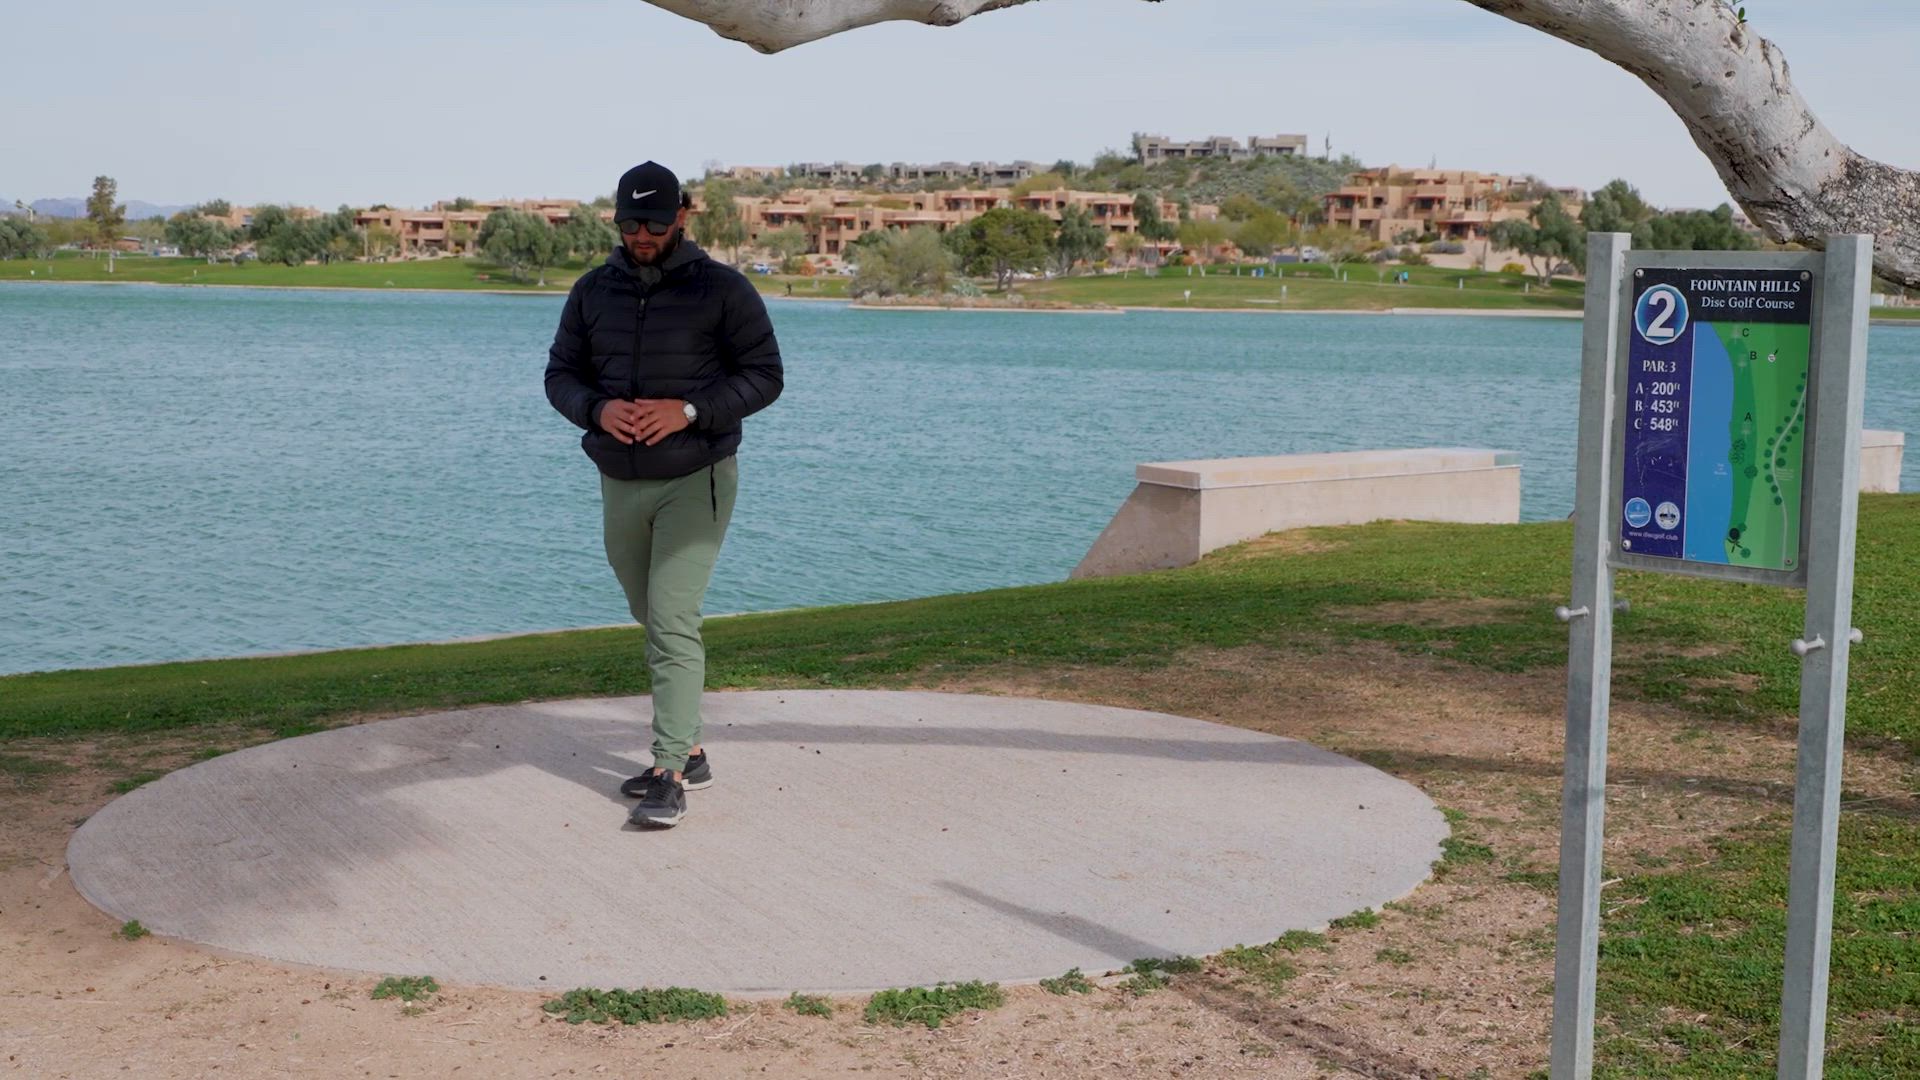
Hole #2 - Par 3 - 548ft 167m
1
Hole #2 - Par 3 - 548ft 167m
1
04:44
Publish date
This hole proves to be a challenging one in these conditions.
Hole #2 - Par 3 - 548ft 167m
4.
Hole #3 - Par 3 - 294ft 89m
1
Hole #3 - Par 3 - 294ft 89m
1
01:54
Publish date
Easy, short, and fun!
Hole #3 - Par 3 - 294ft 89m
5.
Hole #4 - Par 3 - 250ft 76m
1
Hole #4 - Par 3 - 250ft 76m
1

01:35
Publish date
Even shorter than before. In tournaments, this will be played as an elevated basket to make it more challenging.
Hole #4 - Par 3 - 250ft 76m
6.
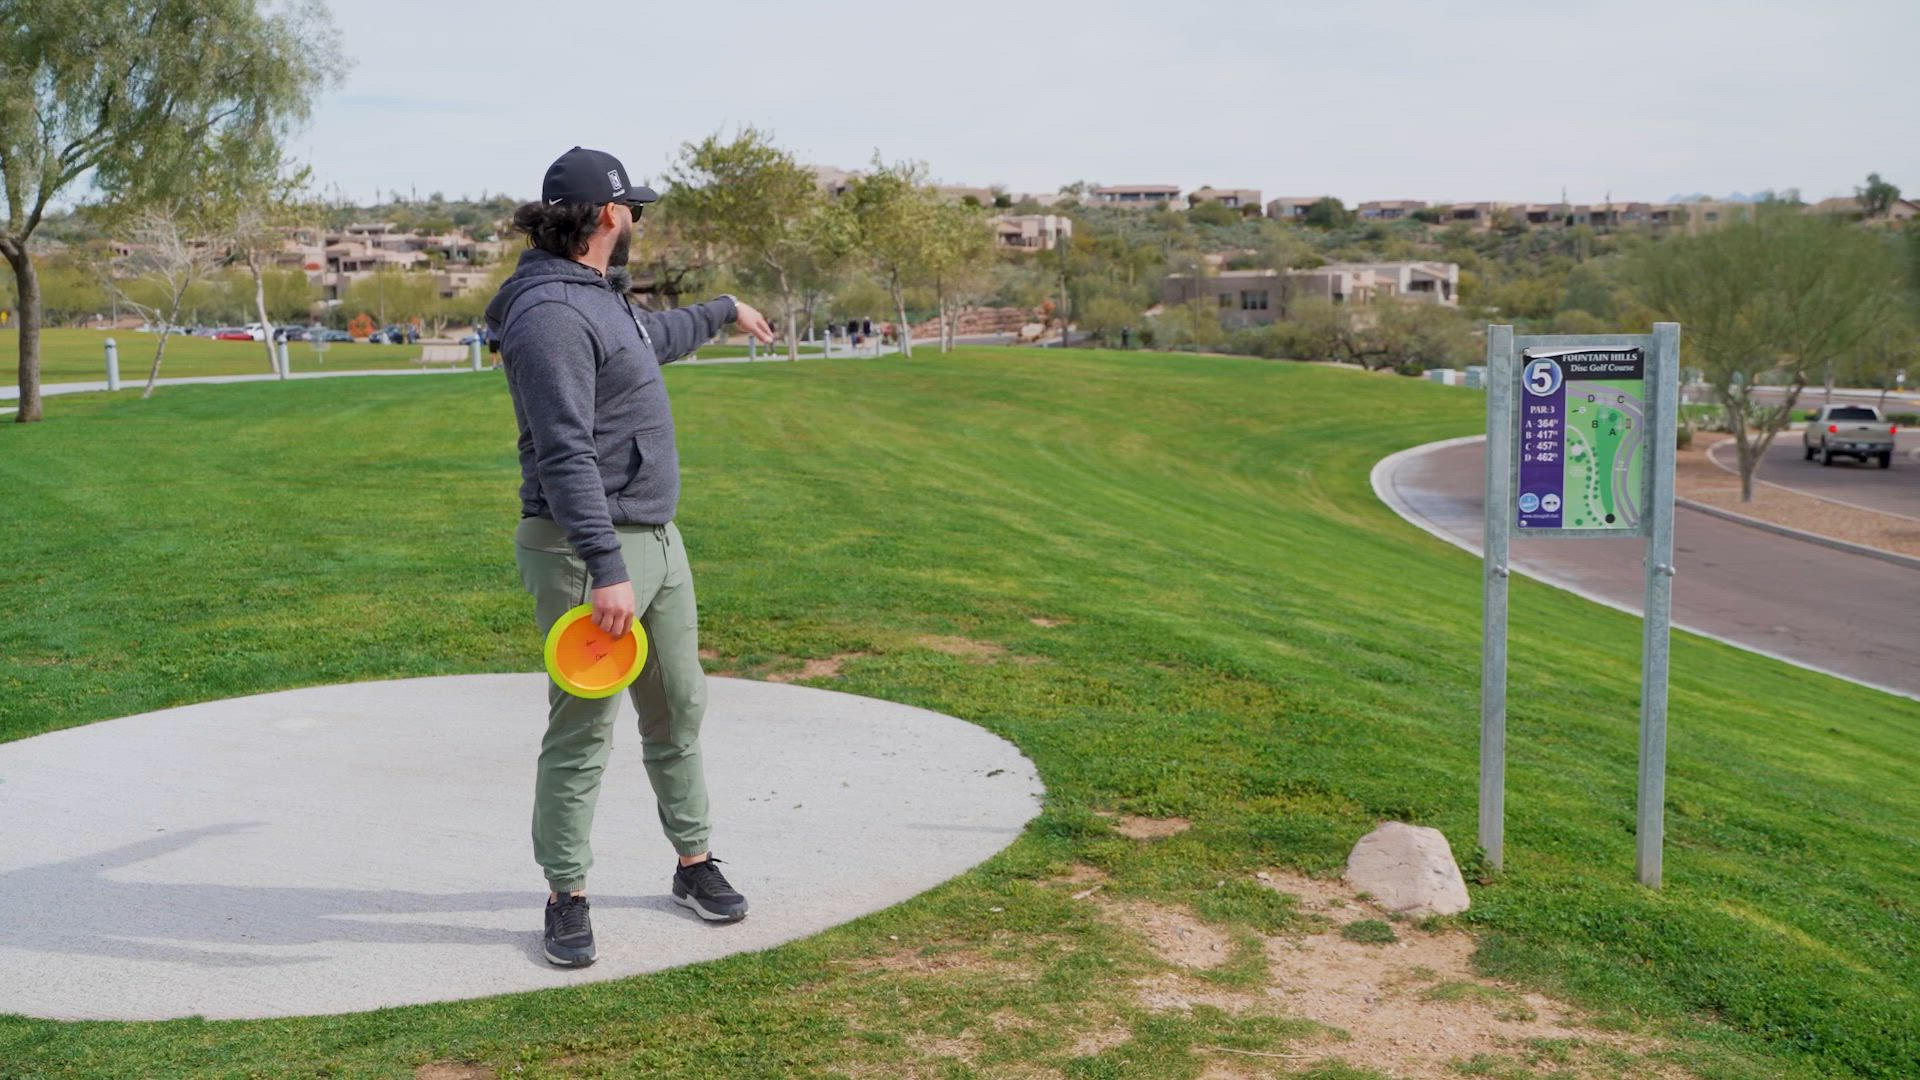
Hole #5 - Par 3 - 462ft 141m
1
Hole #5 - Par 3 - 462ft 141m
1
03:11
Publish date
Beautiful hyzer, make sure you watch out for cars.
Hole #5 - Par 3 - 462ft 141m
7.
Hole #6 - Par 3 - 225ft 69m
1
Hole #6 - Par 3 - 225ft 69m
1
01:55
Publish date
Tee sign says #7 but this plays as #6 in the tournament layout. Nice uphill shot, should be easy for a pro. Let's see how it goes!
Hole #6 - Par 3 - 225ft 69m
8.
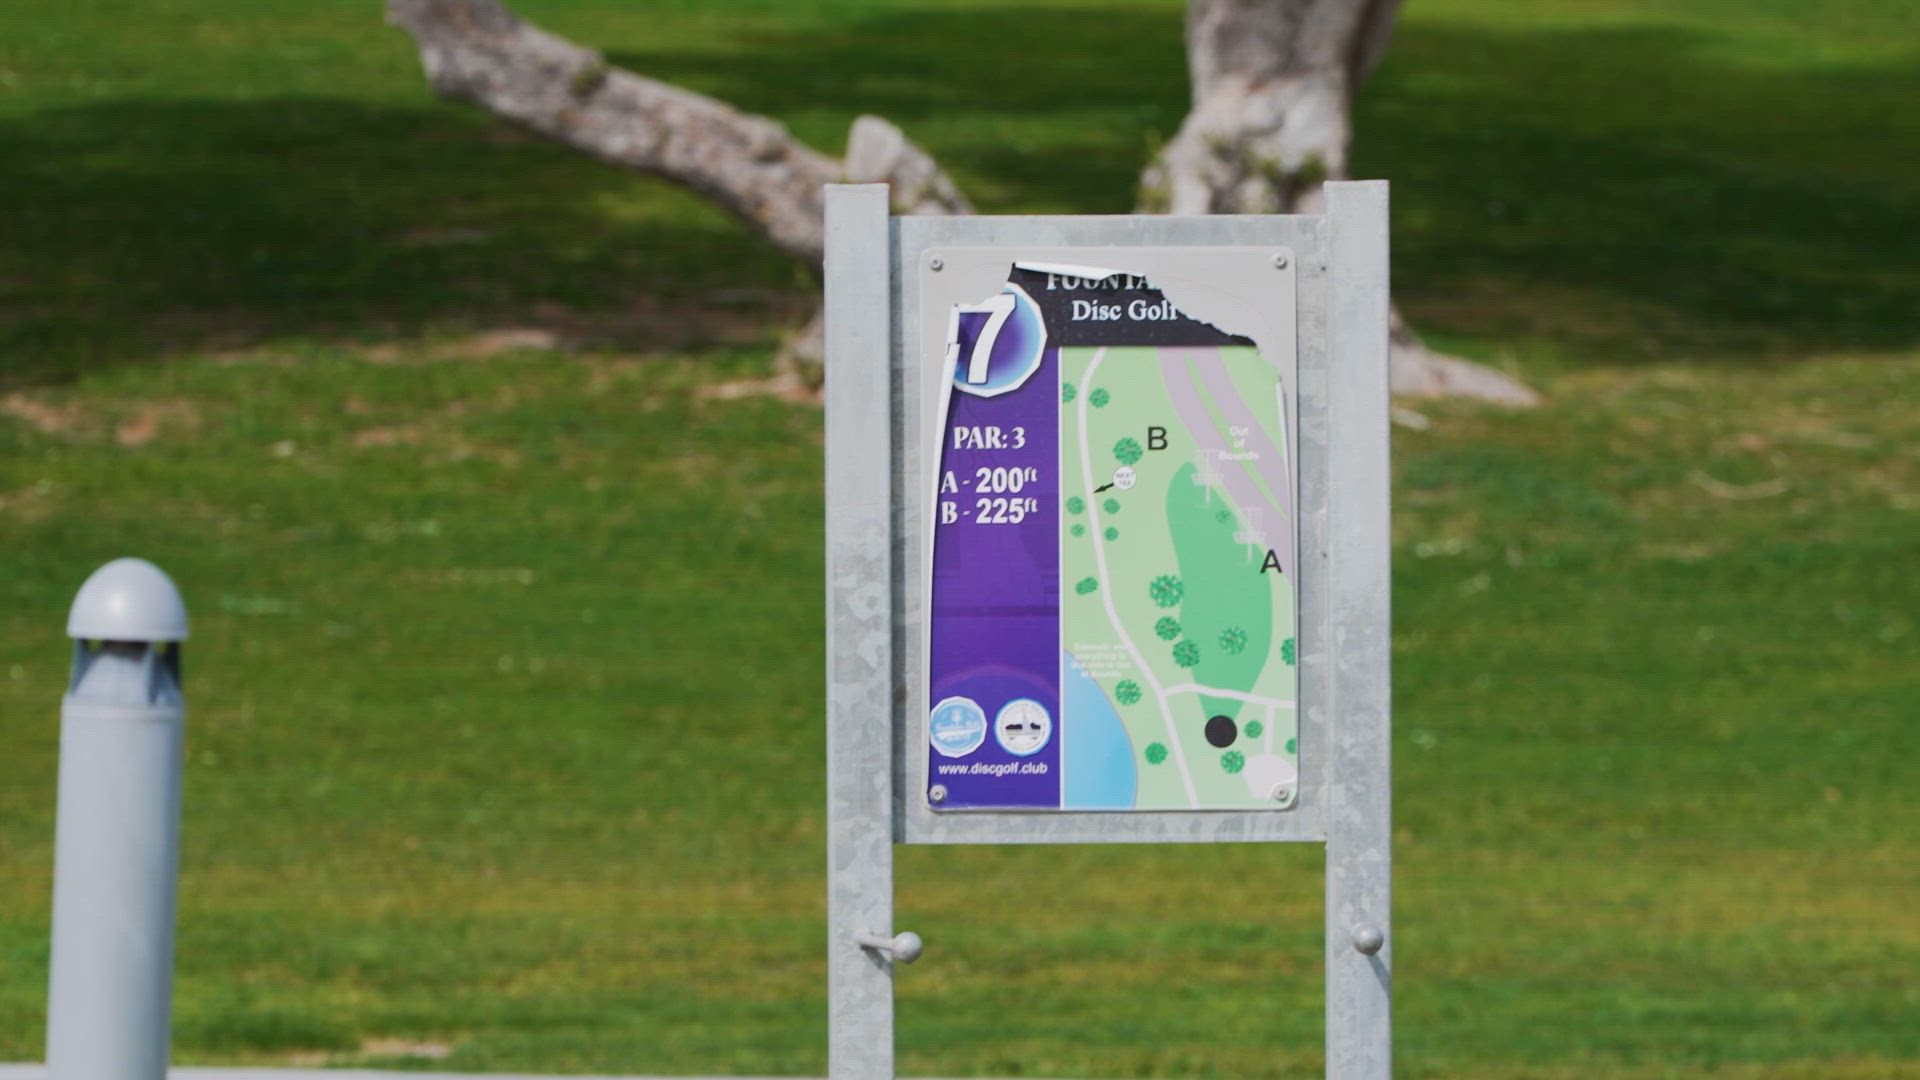
Hole #7 - Par 3 - 205ft 62m
1
Hole #7 - Par 3 - 205ft 62m
1
02:17
Publish date
Again the tee sign says #8 but it plays as hole #7. Short, but not easy. Drew talks about the OB rule.
Hole #7 - Par 3 - 205ft 62m
9.
Hole #8 - Par 4 - 625ft 191m
1
Hole #8 - Par 4 - 625ft 191m
1
02:16
Publish date
Back on track with the Memorial Open layout. Peninsula green again with a huge slight downhill hyzer shot.
Hole #8 - Par 4 - 625ft 191m
10.
Hole #9 - Par 3 - 450ft 137m
1
Hole #9 - Par 3 - 450ft 137m
1
03:11
Publish date
The only hole Paul McBeth didn't get when he threw the all-time highest-scoring round. Another peninsula hole with pin point accuracy needed. Let's see how the wind plays the player.
Hole #9 - Par 3 - 450ft 137m
11.
Hole #10 - Par 3 - 387ft 118m
1
Hole #10 - Par 3 - 387ft 118m
1
02:27
Publish date
Gibson predicts that this is a tough hole in these winds. Let's see if it's so.
Hole #10 - Par 3 - 387ft 118m
12.
Conversation on Drew using the Jumpman logo
1
Conversation on Drew using the Jumpman logo
1
01:54
Publish date
Sometime ago there was a conversation on Gibson using the Jumpman logo on his discs. This is his take on the subject.
Conversation on Drew using the Jumpman logo
13.
Hole #11 - Par 3- 394ft 120m
1
Hole #11 - Par 3- 394ft 120m
1
04:41
Publish date
A very unique basket placement makes the shot a little bit trickier. We see also the next step in the saga of the lost disc.
Hole #11 - Par 3- 394ft 120m
14.
Hole #12 - Par 3 - 286ft 86m
1
Hole #12 - Par 3 - 286ft 86m
1
01:54
Publish date
Downhill sweet little hyzer with not too much room behind the basket, so make sure you land close to the basket.
Hole #12 - Par 3 - 286ft 86m
15.
Hole #13 - Par 3 - 245ft 75m
1
Hole #13 - Par 3 - 245ft 75m
1
01:40
Publish date
Memorial has the pin a bit further away, but we played the short one. Drew demonstrates his skills on this hole.
Hole #13 - Par 3 - 245ft 75m
16.
Hole #14 - Par 3 - 373ft 114m
1
Hole #14 - Par 3 - 373ft 114m
1
01:54
Publish date
Normally a nice hyzer but this wind makes it a bit more difficult. Drew is here to learn and want's to make it right.
Hole #14 - Par 3 - 373ft 114m
17.
Hole #15 - Par 3 - 430ft 131m
1
Hole #15 - Par 3 - 430ft 131m
1
02:54
Publish date
Grip it and rip it! A fun straight shot to the basket that is again placed in between palm trees.
Hole #15 - Par 3 - 430ft 131m
18.
Hole #16 - Par 3 - 322ft 98m
1
Hole #16 - Par 3 - 322ft 98m
1

05:15
Publish date
Drew finds what is the play for today on this hole. What a beautiful shot!
Hole #16 - Par 3 - 322ft 98m
19.
Hole #17 - Par 3 - 462ft 140m
1
Hole #17 - Par 3 - 462ft 140m
1
02:48
Publish date
Downhill against the wind is not by any means an easy shot. Gibson is warmed up so let's look at what happens.
Hole #17 - Par 3 - 462ft 140m
20.
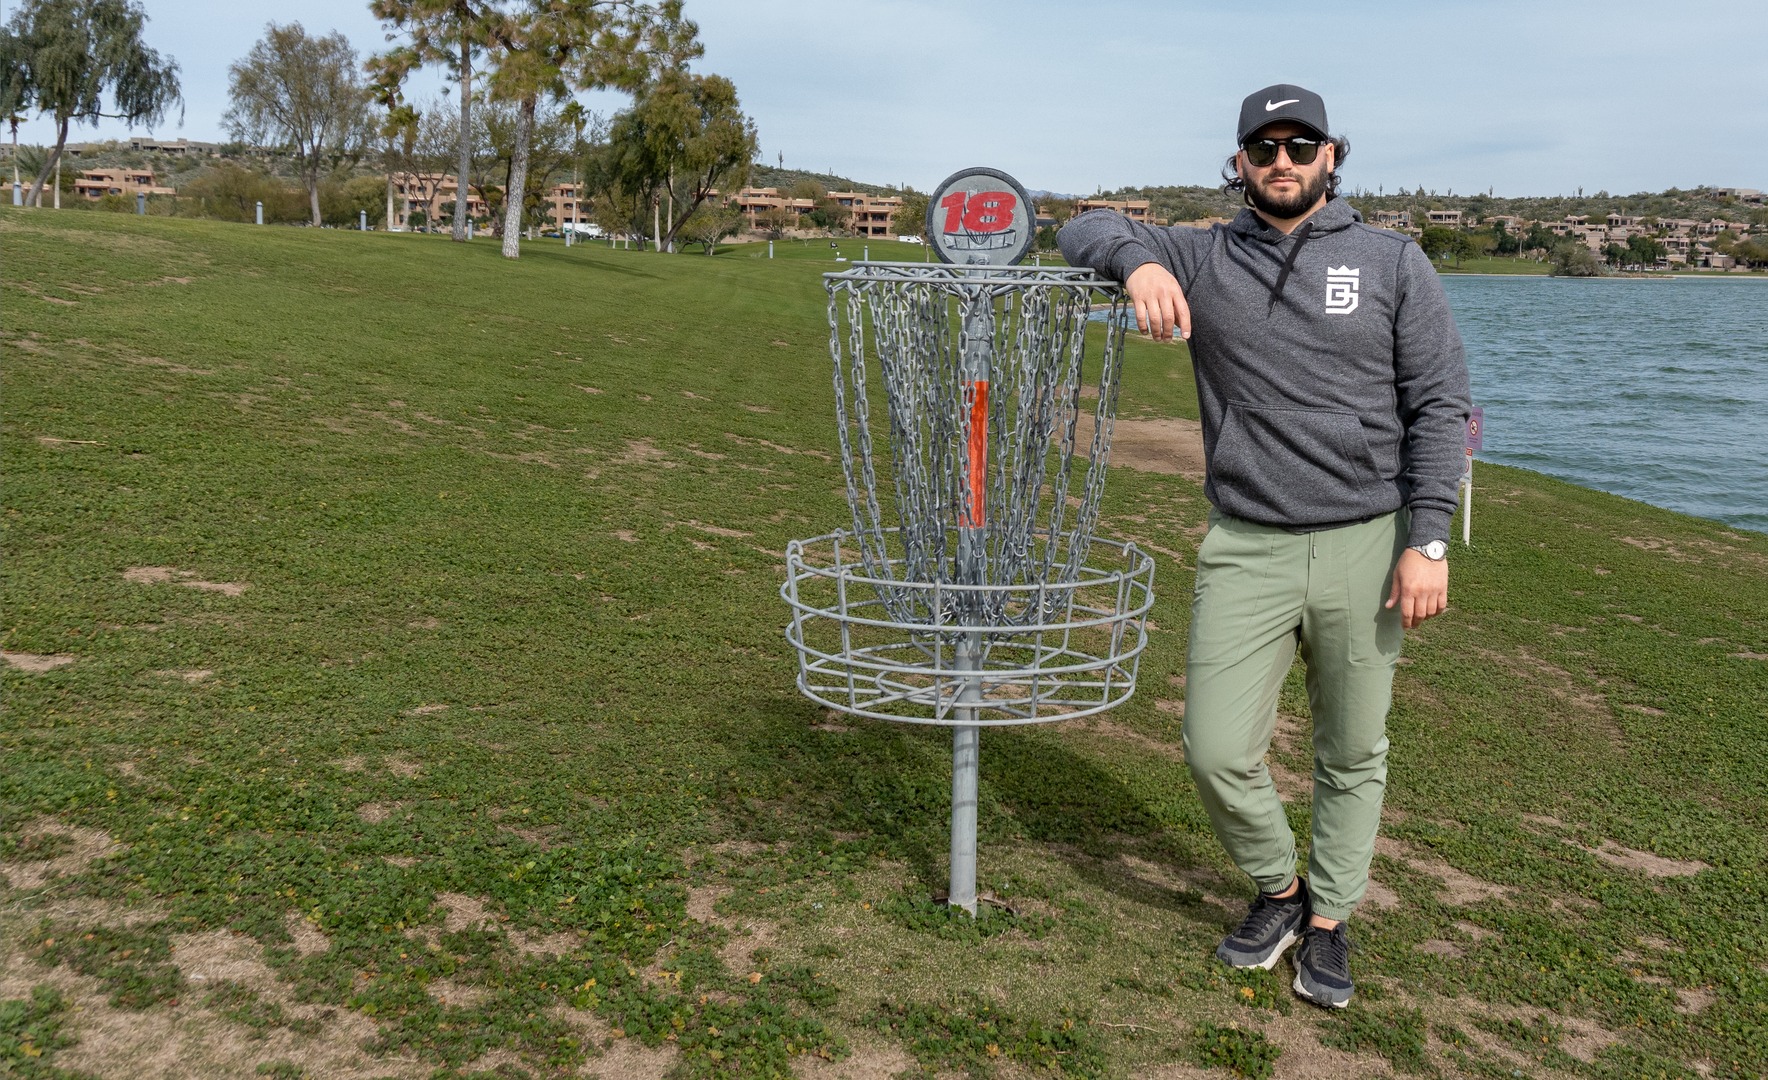
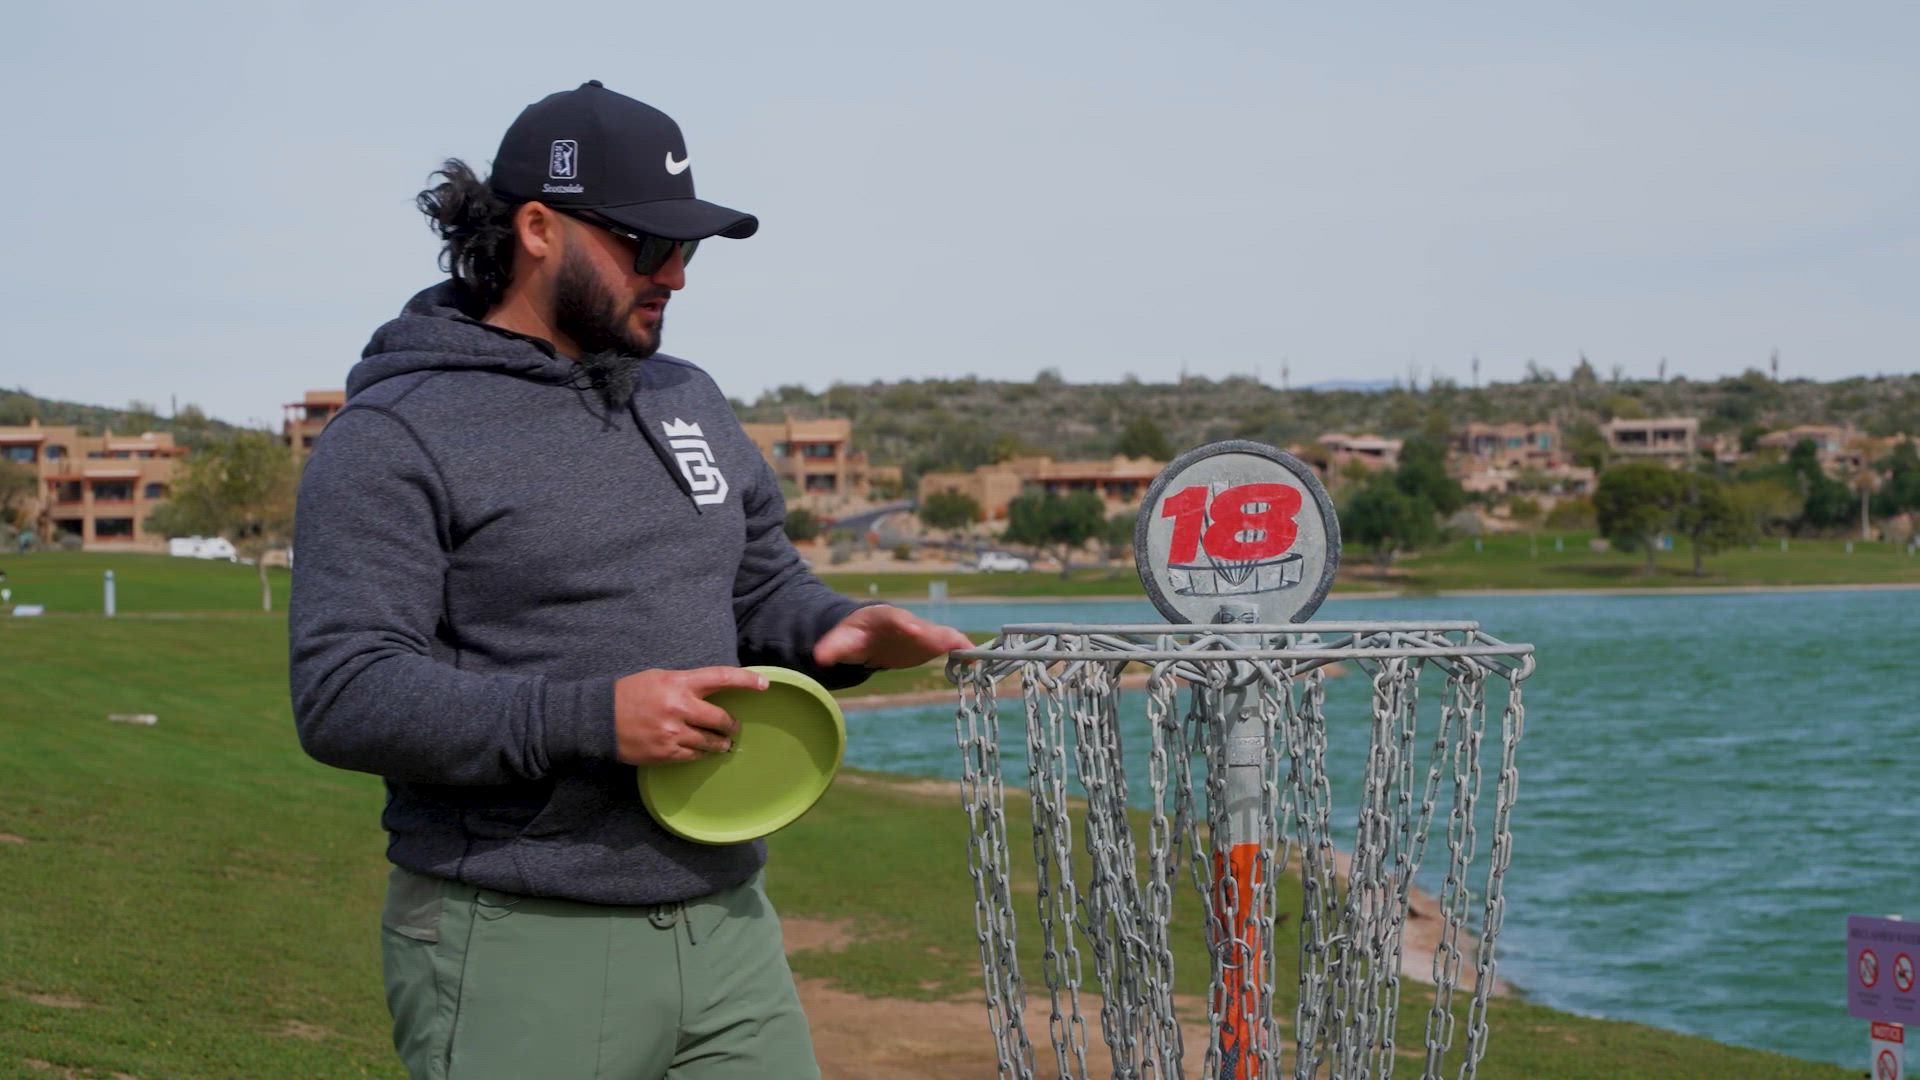
Hole #18 - Par 3 - 397ft 121m
1
Hole #18 - Par 3 - 397ft 121m
1
02:11
Publish date
Last hole! Really difficult ending for a tournament, so keep it cool and throw a shot like Gibson did here.
Hole #18 - Par 3 - 397ft 121m
21.
Mach X Basket
1
Mach X Basket
1
00:47
Publish date
Let's take a closer look on the basket we play here on Fountain Hills
Mach X Basket
22.
Conclusion - The lost disc saga
1
Conclusion - The lost disc saga
1

04:30
Publish date
The disc golf community is amazing. What we witnessed here at Fountain Hills was definitely restoring the faith in humanity.
Conclusion - The lost disc saga
23.

You might also like
Frequently Asked Questions (FAQ)
Add a Title